💬Featured Comment: “These were absolutely delicious! And so very easy to make. First, I made two batches. One for myself and one for a friend. Then I made additional batches for gifts to my neighbors. All gifts were very much appreciated! This will turn into a yearly tradition (per request from a couple of people). Thank you Amy for sharing this with all of us.”–Lynne
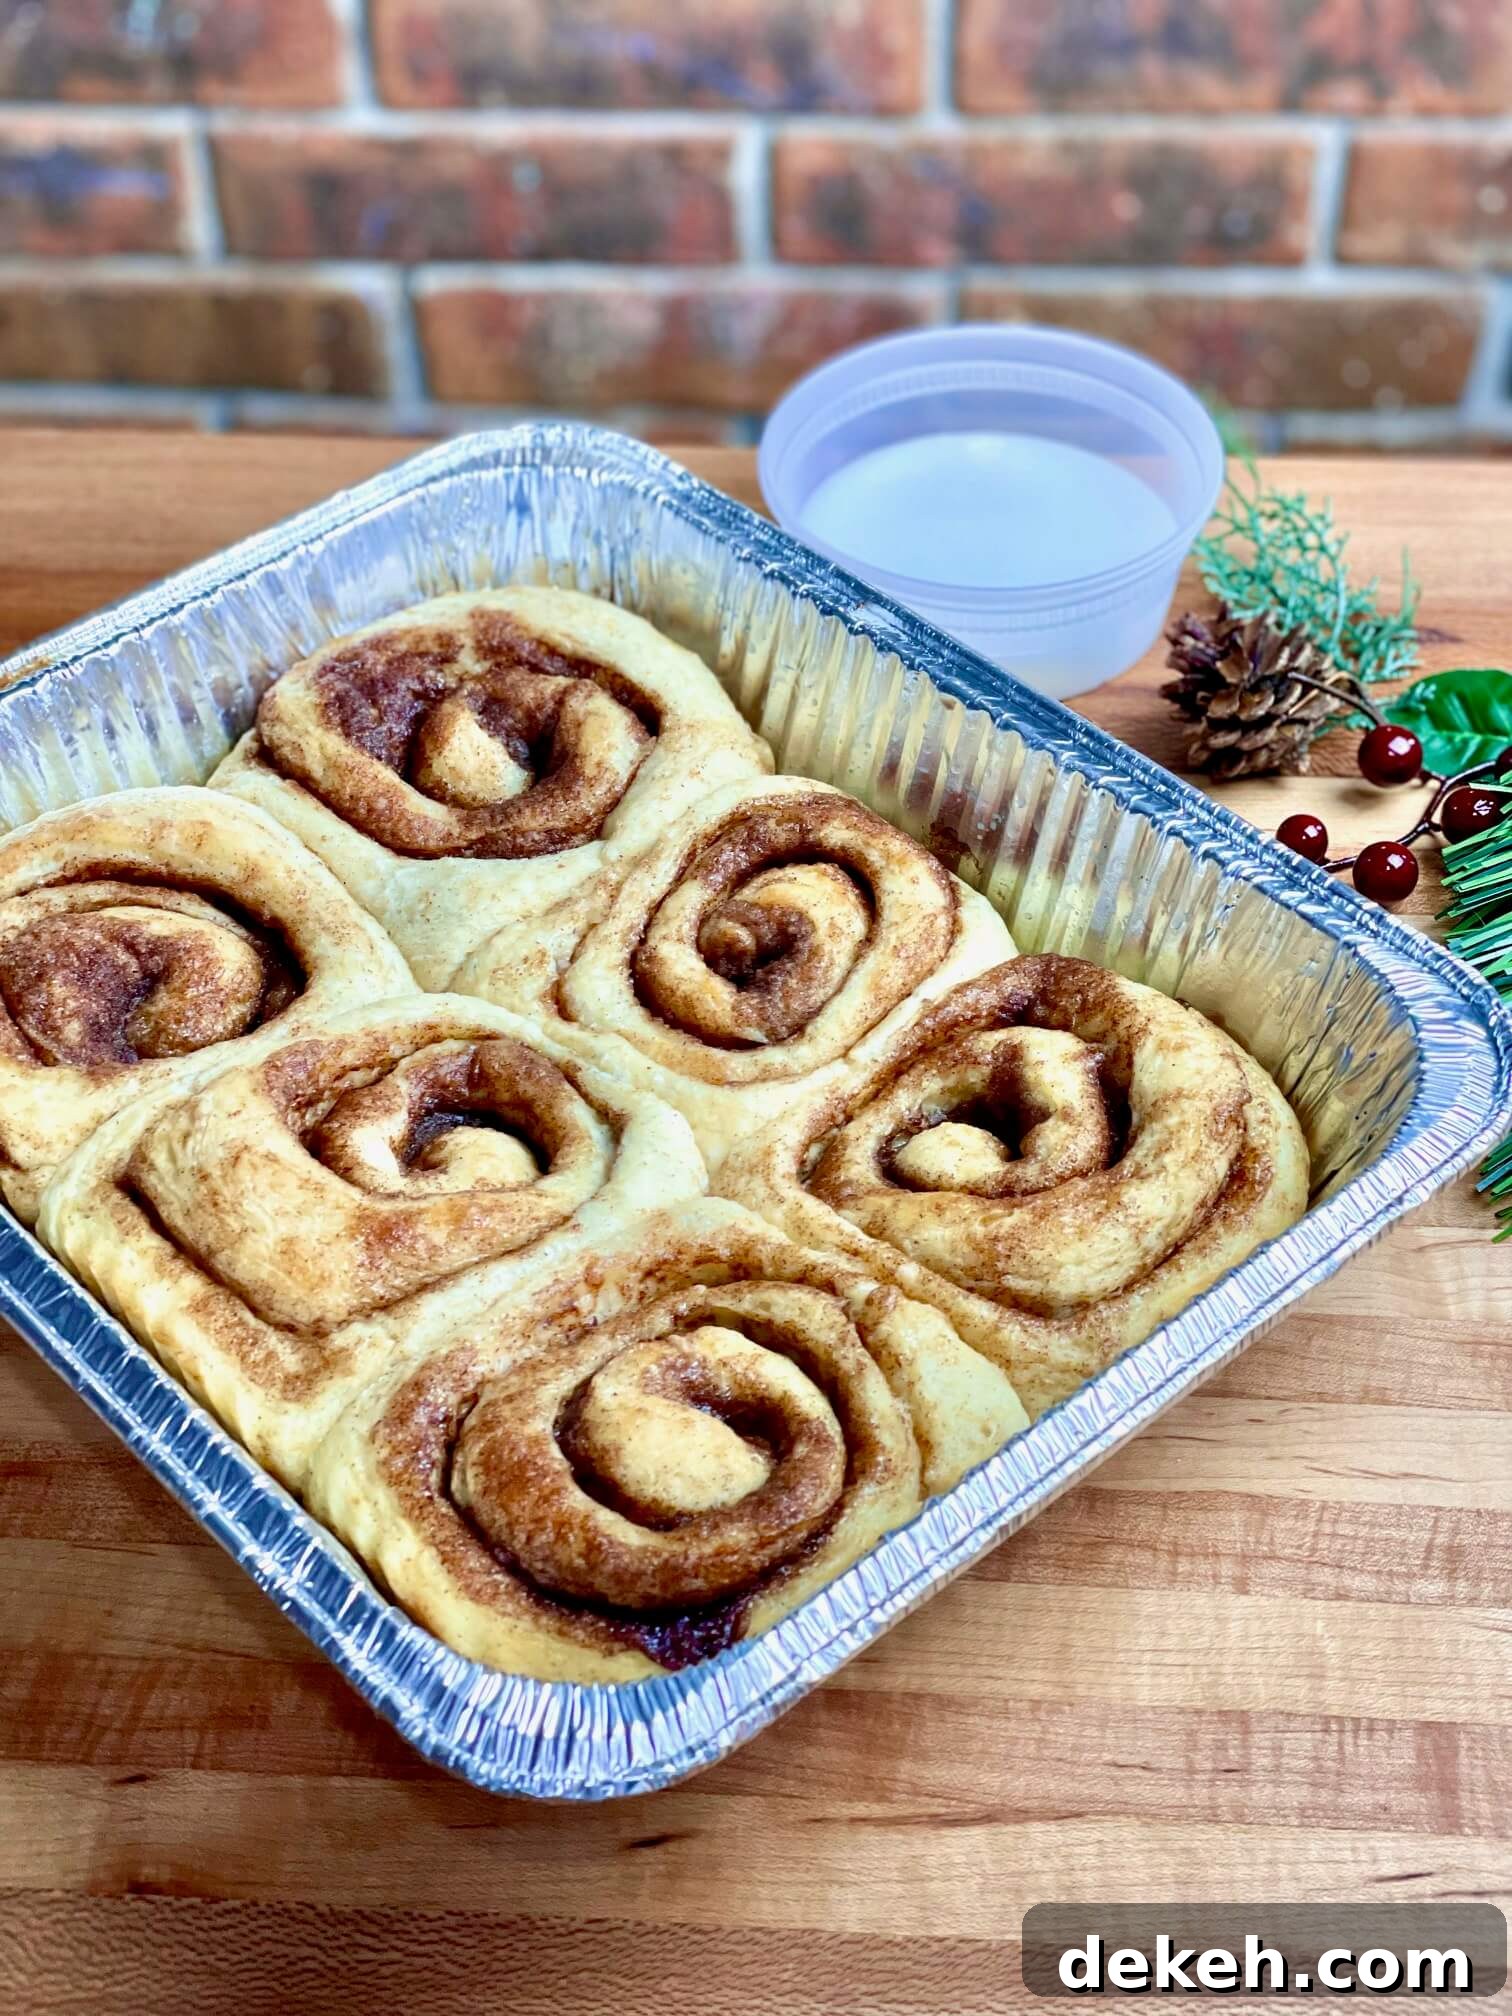
Make-ahead take-and-bake cinnamon rolls that taste homemade and bake up soft and gooey straight from the freezer. This method yields reliable results and makes it easy to prepare fresh-baked cinnamon rolls ahead of time for family breakfasts, gifts, or busy mornings. Follow the tips below to freeze, store, and finish-bake your rolls so they retain a bakery-style texture.
🎥 Quick Recipe Video
Watch a short video demonstration to see rolling, cutting, and pan preparation tips in action. The visual guide helps with shaping the dough and sealing the seam for evenly shaped rolls.
⏲️ How to Make Take and Bake Cinnamon Rolls
This take-and-bake approach was developed through testing to produce cinnamon rolls that freeze well and finish baking with a tender, gooey crumb. Because active dry yeast can lose strength in a frozen, unbaked dough, this method partially bakes the rolls until the centers are fully set while keeping the tops barely colored. After cooling, they are covered and frozen. When you’re ready to serve, bake them from frozen to finish them, which protects the texture and produces a soft interior.
Here are the Steps
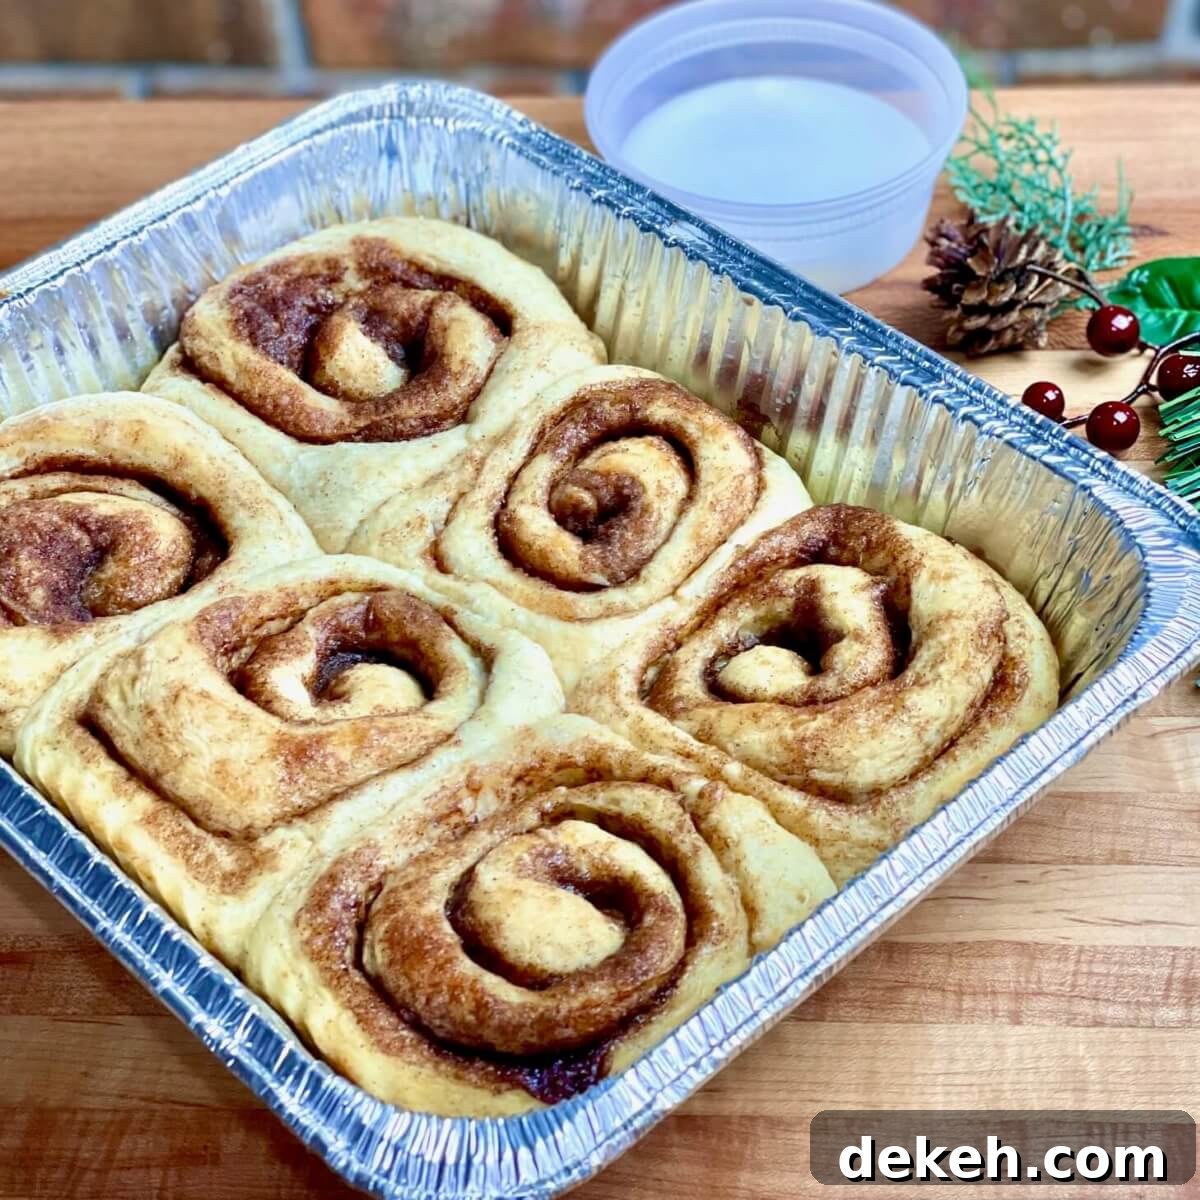
- Bake the risen cinnamon rolls until the dough is fully cooked through but the tops remain light or only slightly golden. Avoid overbaking so the rolls finish soft and moist after reheating.
- Cover the baked pan with a tight foil lid or heavy-duty foil, wrap the pan in plastic wrap, and freeze for up to three months.
- When ready to serve, remove plastic wrap but keep the foil lid in place. Bake from frozen until the rolls are heated through; leaving the lid on prevents over-browning while allowing the centers to warm and become gooey.
- Warm the glaze and drizzle over the hot rolls just before serving.
🥣 The Dough and Filling
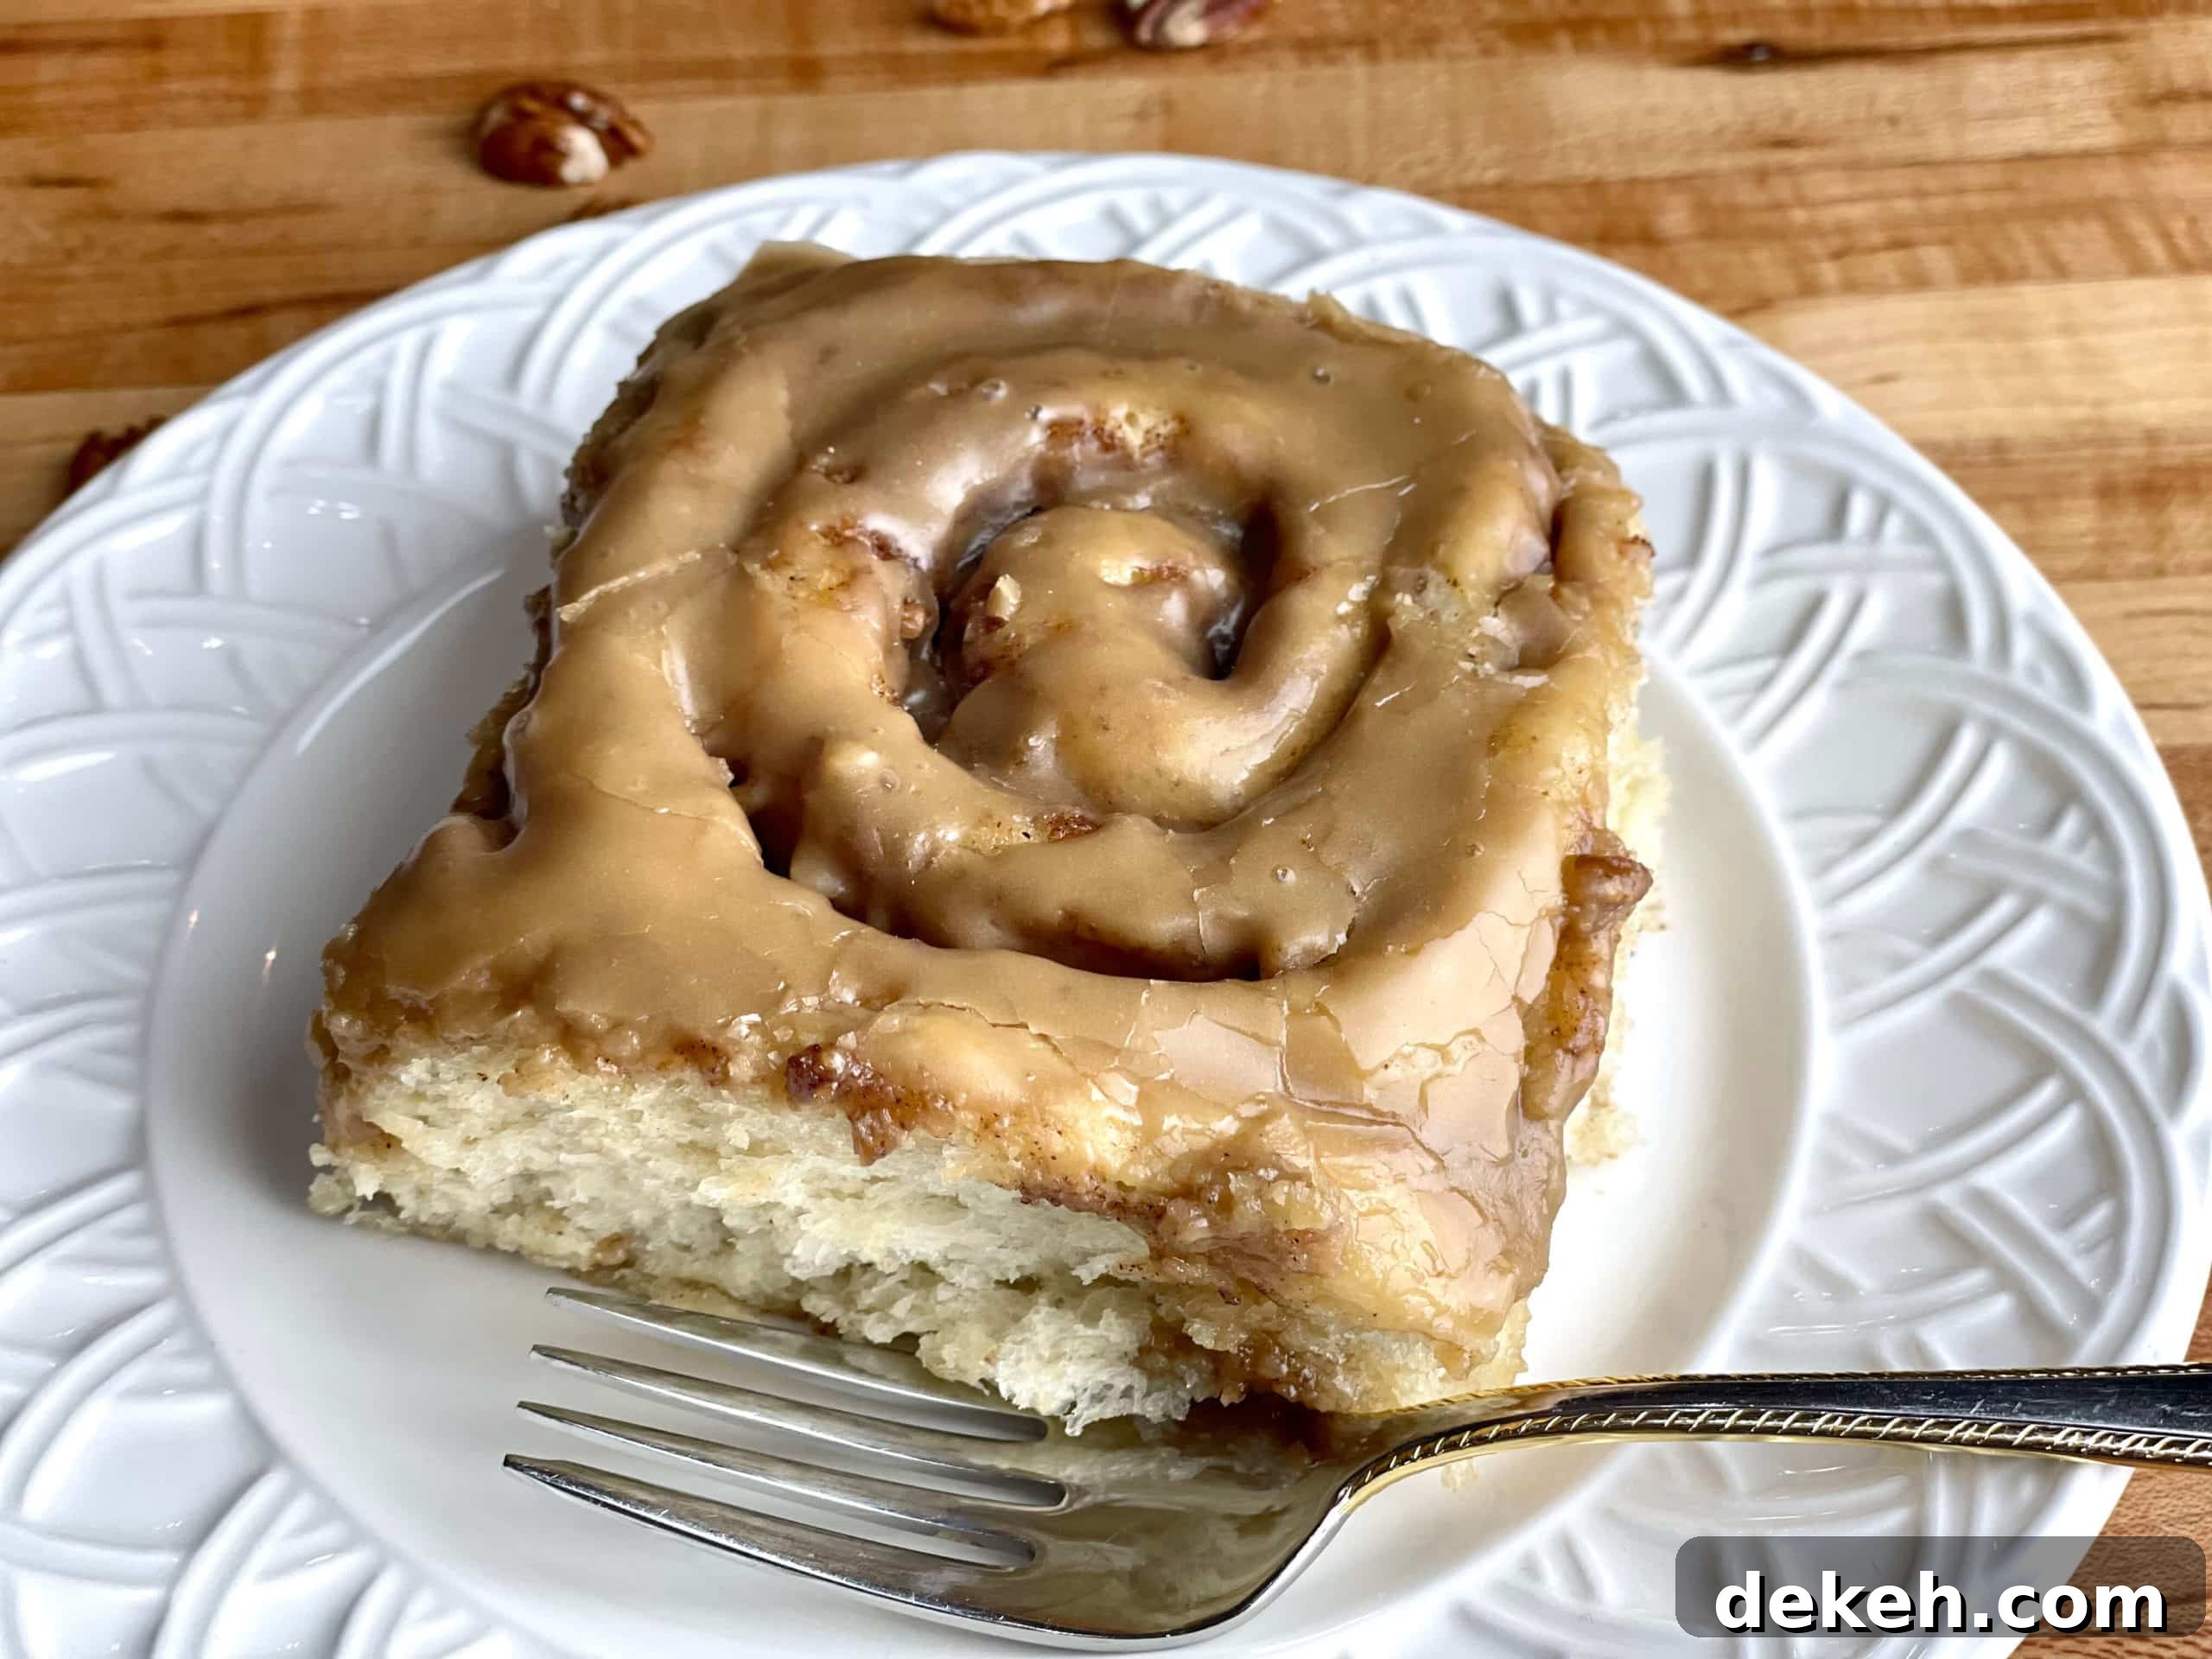
The dough and filling here use the same formula as a soft and gooey bakery-style cinnamon roll. The recipe includes a small amount of Instant Clearjel — a neutral, instant thickener — that helps the filling stay glossy and the dough remain tender. You can adapt this method for other flavored rolls such as maple-pecan or mini rolls by swapping fillings and adjusting pan sizes.
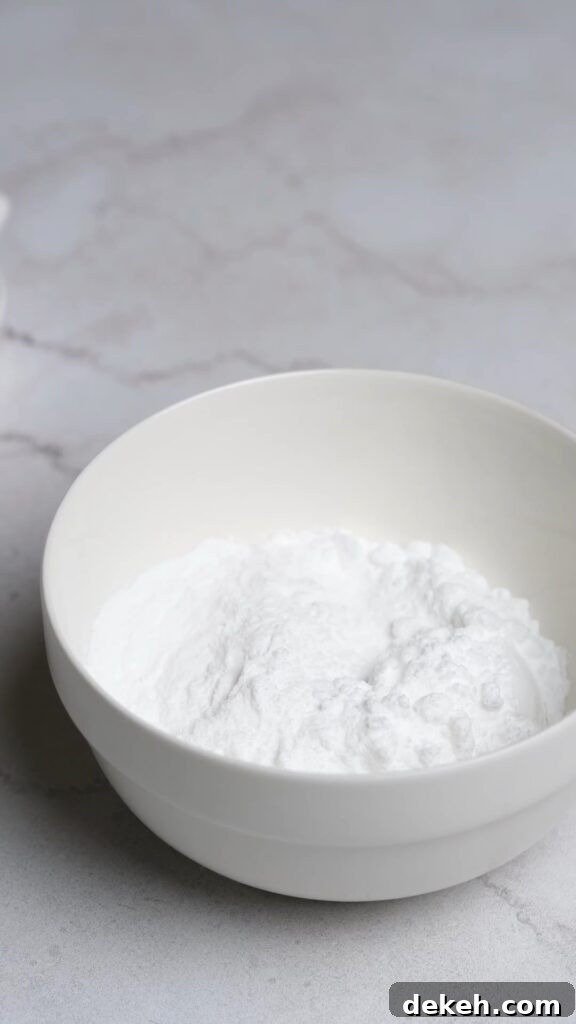
About the secret bakery ingredient in this recipe
Instant Clearjel is a powdered thickener often used by professional bakers. It produces a smooth, glossy texture and enhances moisture retention in fillings and frostings. If you don’t have Instant Clearjel, some instant pudding mixes also contain it as an ingredient and can be used when the recipe allows. Always use the product labeled “instant” for best results.
🎁 The Perfect Cinnamon Roll Gift
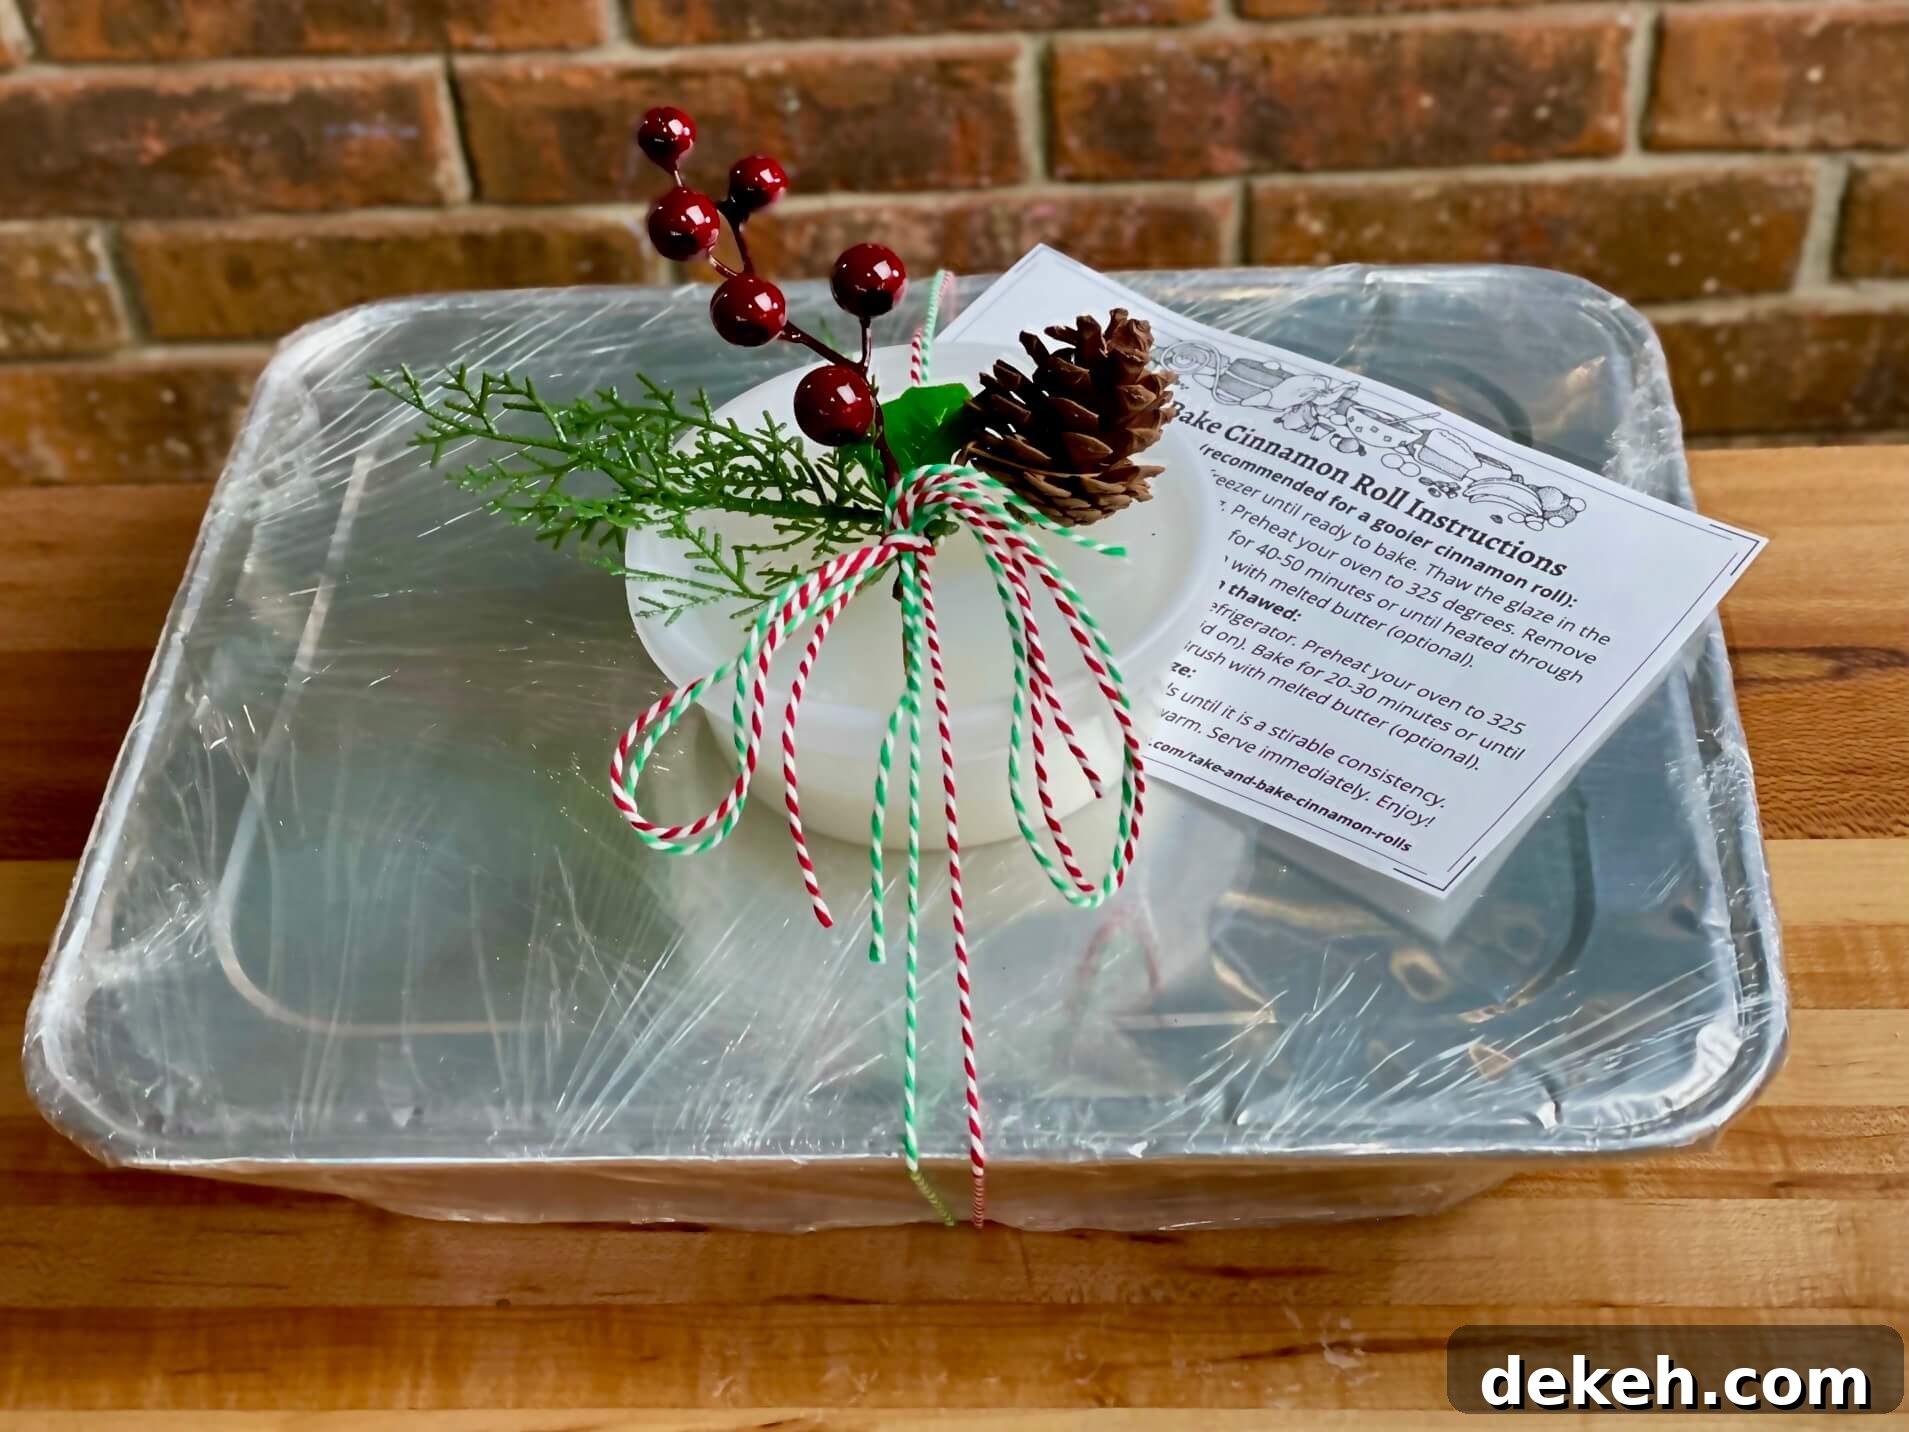
These frozen, partially baked rolls are excellent homemade gifts. Package a lidded pan of frozen rolls with the glaze and a printed instruction card. Recipients simply keep the pan frozen until they want fresh rolls, then bake from frozen for a warm treat. Adding simple decorations like twine or a gift bag makes an attractive presentation.
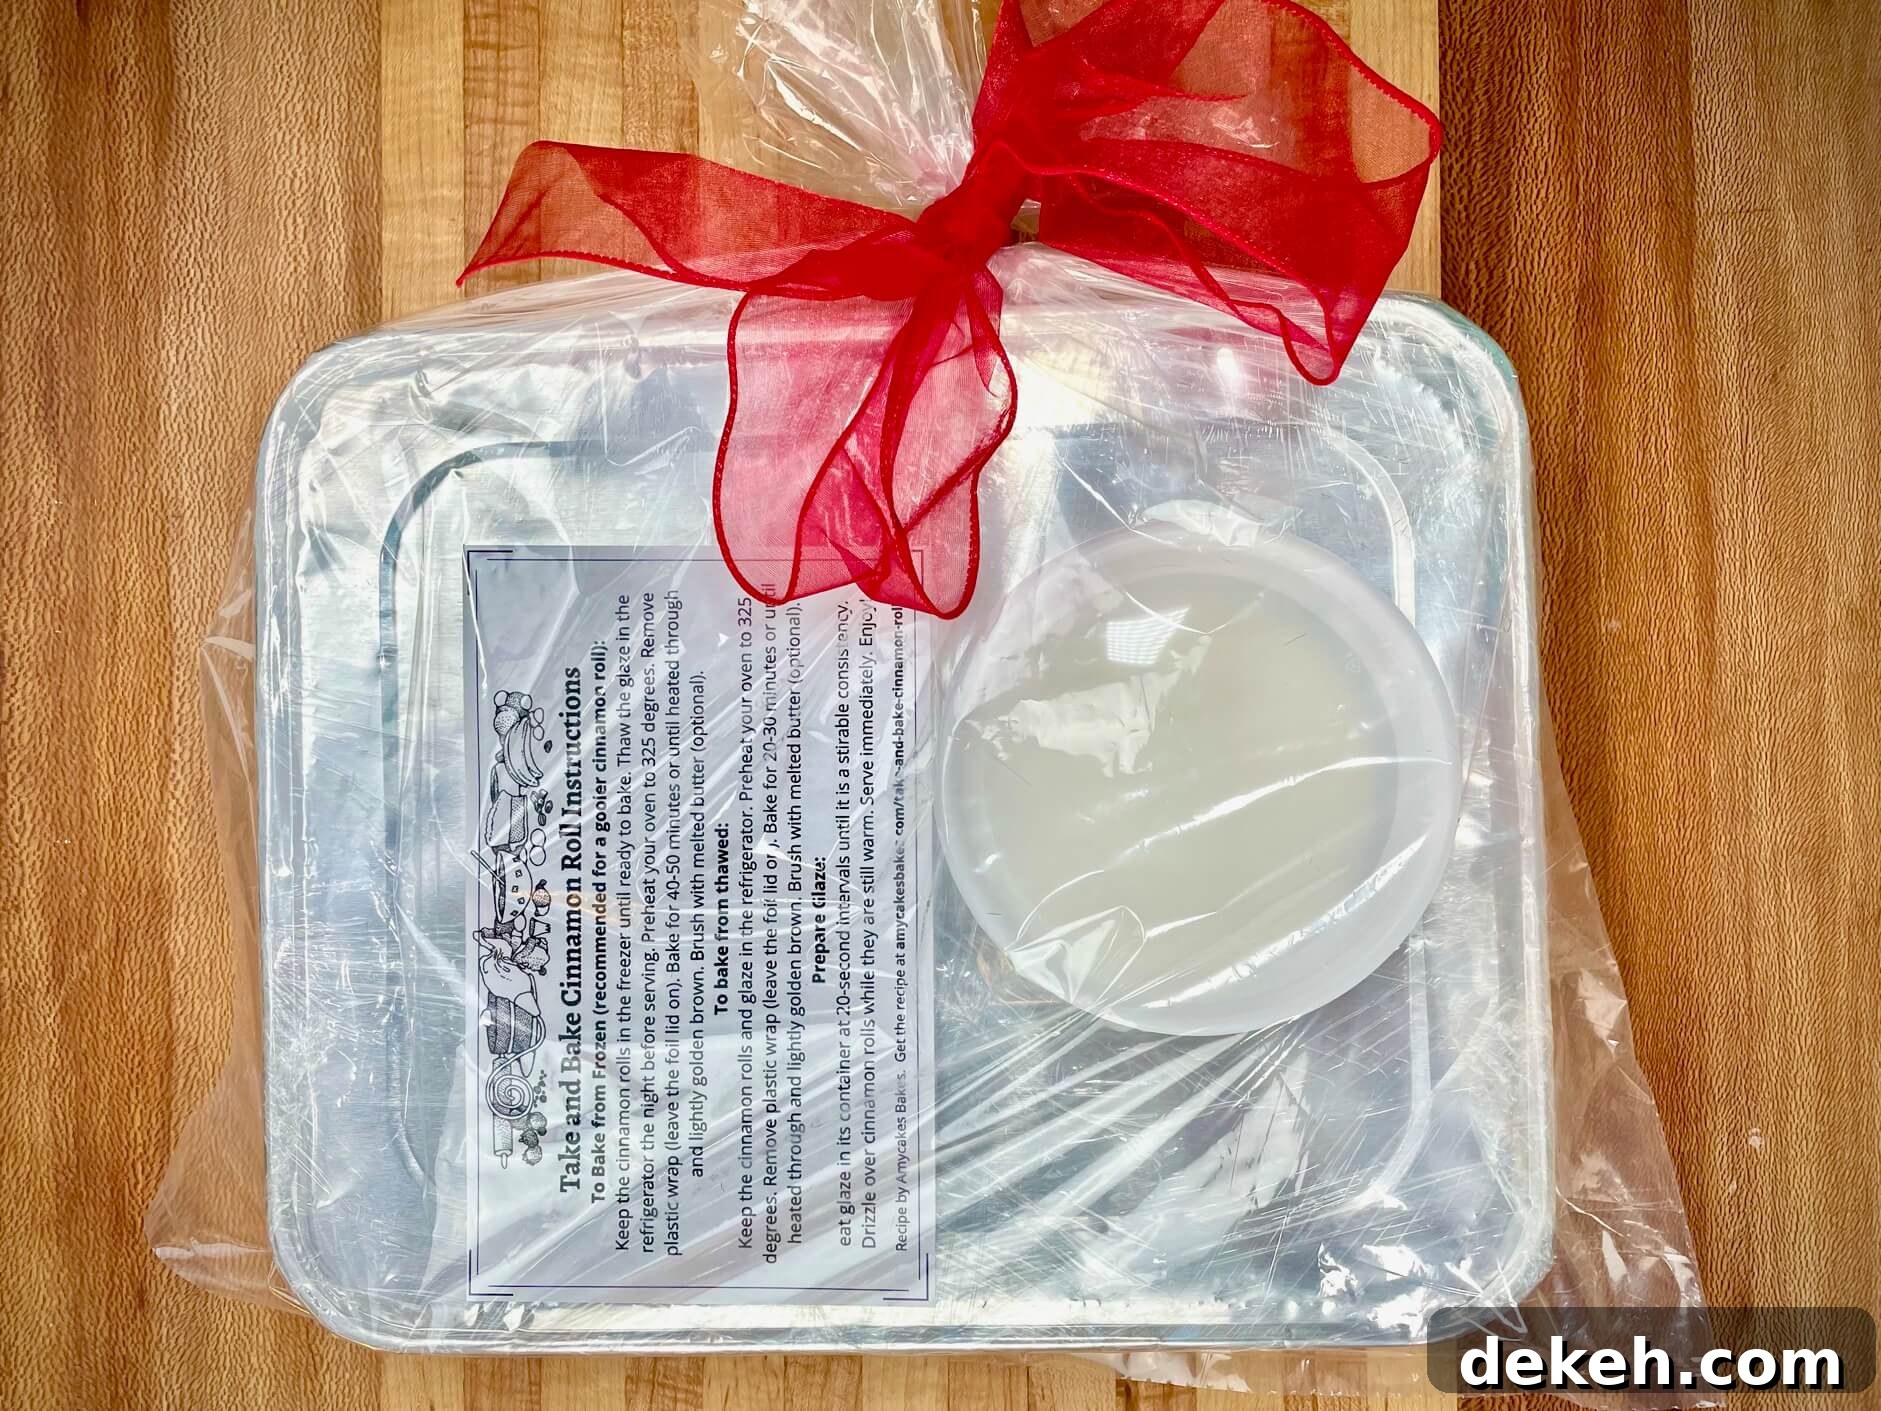
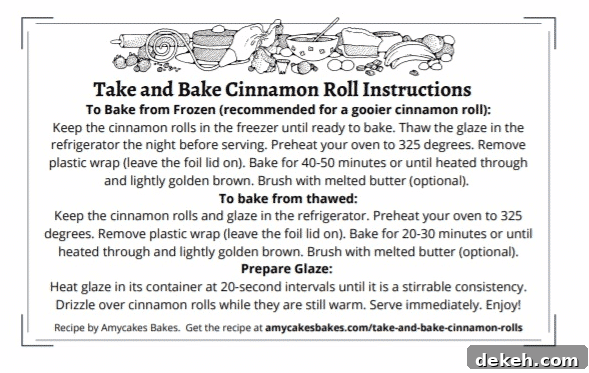
📋 Printable Take and Bake Cinnamon Roll Instructions
Create a simple printable that lists storage and bake-from-frozen instructions to include with gifts. A one-page printable with two instructions per page works well — just cut the page in half so each recipient receives an easy-to-follow card.
I hope you enjoy making these make-ahead take-and-bake cinnamon rolls this season. They freeze and reheat beautifully, making busy mornings and holiday gifting simple and delicious.
Thanks for reading. ❤️

📖 Recipe & Step-by-Step Instructions
Take and Bake Cinnamon Rolls: a Bakery Recipe
Make-ahead cinnamon rolls from scratch that freeze well and finish baking into soft, gooey treats. A single batch yields six large rolls that fit in a half-size foil steam pan; a double batch yields twelve across two pans.
Ingredients
Cinnamon Roll Dough Ingredients
- 400 g (about 3 cups) all-purpose flour
- 1 1/2 tsp Instant Clearjel (optional but recommended)
- 1 tbsp instant yeast
- 1 large egg
- 1/2 tsp salt
- 3 tbsp sugar
- 3 tbsp vegetable oil
- 1 cup hot water (about 120°F / 49°C)
Cinnamon Roll Filling Ingredients
- 227 g (1 cup packed) light brown sugar
- 1 tbsp + 1 1/2 tsp ground cinnamon
- 1 1/2 tsp Instant Clearjel (optional)
- 1 1/2 tsp all-purpose flour
- 1/2 stick (2 oz) salted butter, softened
Glaze Ingredients
- 141 g (1 1/4 cups) powdered sugar
- 2 tbsp room-temperature water (more if needed)
Other
- 1/4 stick (1 oz) salted butter, melted (for brushing)
- 1/4–1/2 cup flour for dusting as needed
Instructions
Day One: Make the Dough
- Whisk the flour, Instant Clearjel, and instant yeast together in a medium bowl and set aside.
- In a large bowl, combine the egg, salt, sugar, and oil. Heat water to around 120°F (it should feel very warm but not painful) and pour it over the egg mixture without stirring.
- Add the flour mixture immediately and stir with a sturdy spatula until a sticky, uniform dough forms. Continue stirring for 2–3 minutes until the dough becomes stretchy.
- Let the dough rise at room temperature until doubled, about one hour. Cover loosely and refrigerate the dough overnight or for at least 4 hours (no more than 24 hours).
Day One: Prepare Filling
- Mix the brown sugar and cinnamon, breaking up any clumps. Combine the Instant Clearjel and flour for the filling and store both components in airtight containers until the next day.
Day Two: Shape and Bake
- Brush your pan generously with melted butter. Lightly flour your work surface and scrape the chilled dough onto it. Avoid overworking; shape gently into a rough rectangle.
- Roll the dough into a 9″ x 16″ rectangle (for a single batch). Soften the filling butter if needed, mix with the dry filling thickener, then spread the butter mixture evenly to the edges and sprinkle the brown sugar-cinnamon evenly over the top.
- Roll the dough tightly, pinch the seam closed, dust with flour, and cut into 6 equal rolls. Place them in the prepared pan with a little space between each roll, press lightly so edges touch, and brush with melted butter.
- Allow rolls to rise at room temperature until doubled, about one hour.
- Preheat the oven to 350°F. Bake the rolls on the middle or upper rack for 12 minutes, then reduce the oven to 325°F and bake another 6–8 minutes or until the dough bounces back when tapped and the centers are fully baked. The tops should remain pale or just lightly golden. Brush once more with melted butter after baking.
Freeze the Take-and-Bakes
- When the rolls have cooled slightly, cover the pan with a foil lid or heavy-duty foil and wrap tightly in plastic wrap. Freeze for up to three months.
Make and Store the Glaze
- Whisk powdered sugar and water until smooth. Store the glaze in a sealed container in the refrigerator or freeze it with the rolls; thaw the glaze in the fridge the day before serving.
Bake from Frozen and Serve
- Remove plastic wrap but keep the foil lid in place. Bake the frozen rolls in a 325°F oven for 40–50 minutes or until heated through. Remove the foil lid for the last few minutes if you want slight browning, but keeping the lid on preserves moisture and gooey texture.
- Warm the glaze gently, thin if necessary, and drizzle over warm rolls before serving.
Notes
Instant Clearjel: Use Instant Clearjel (not cook-type) and mix it with dry ingredients first to prevent clumps. It improves filling texture and moisture retention.
Bake from thawed: You can thaw rolls in the fridge and bake at 325°F for 20–30 minutes, but baking from frozen yields a softer, gooier result.
Batch sizes: A 1x batch fits one half-size foil pan (six large rolls). A 2x batch fits two pans (twelve large rolls).