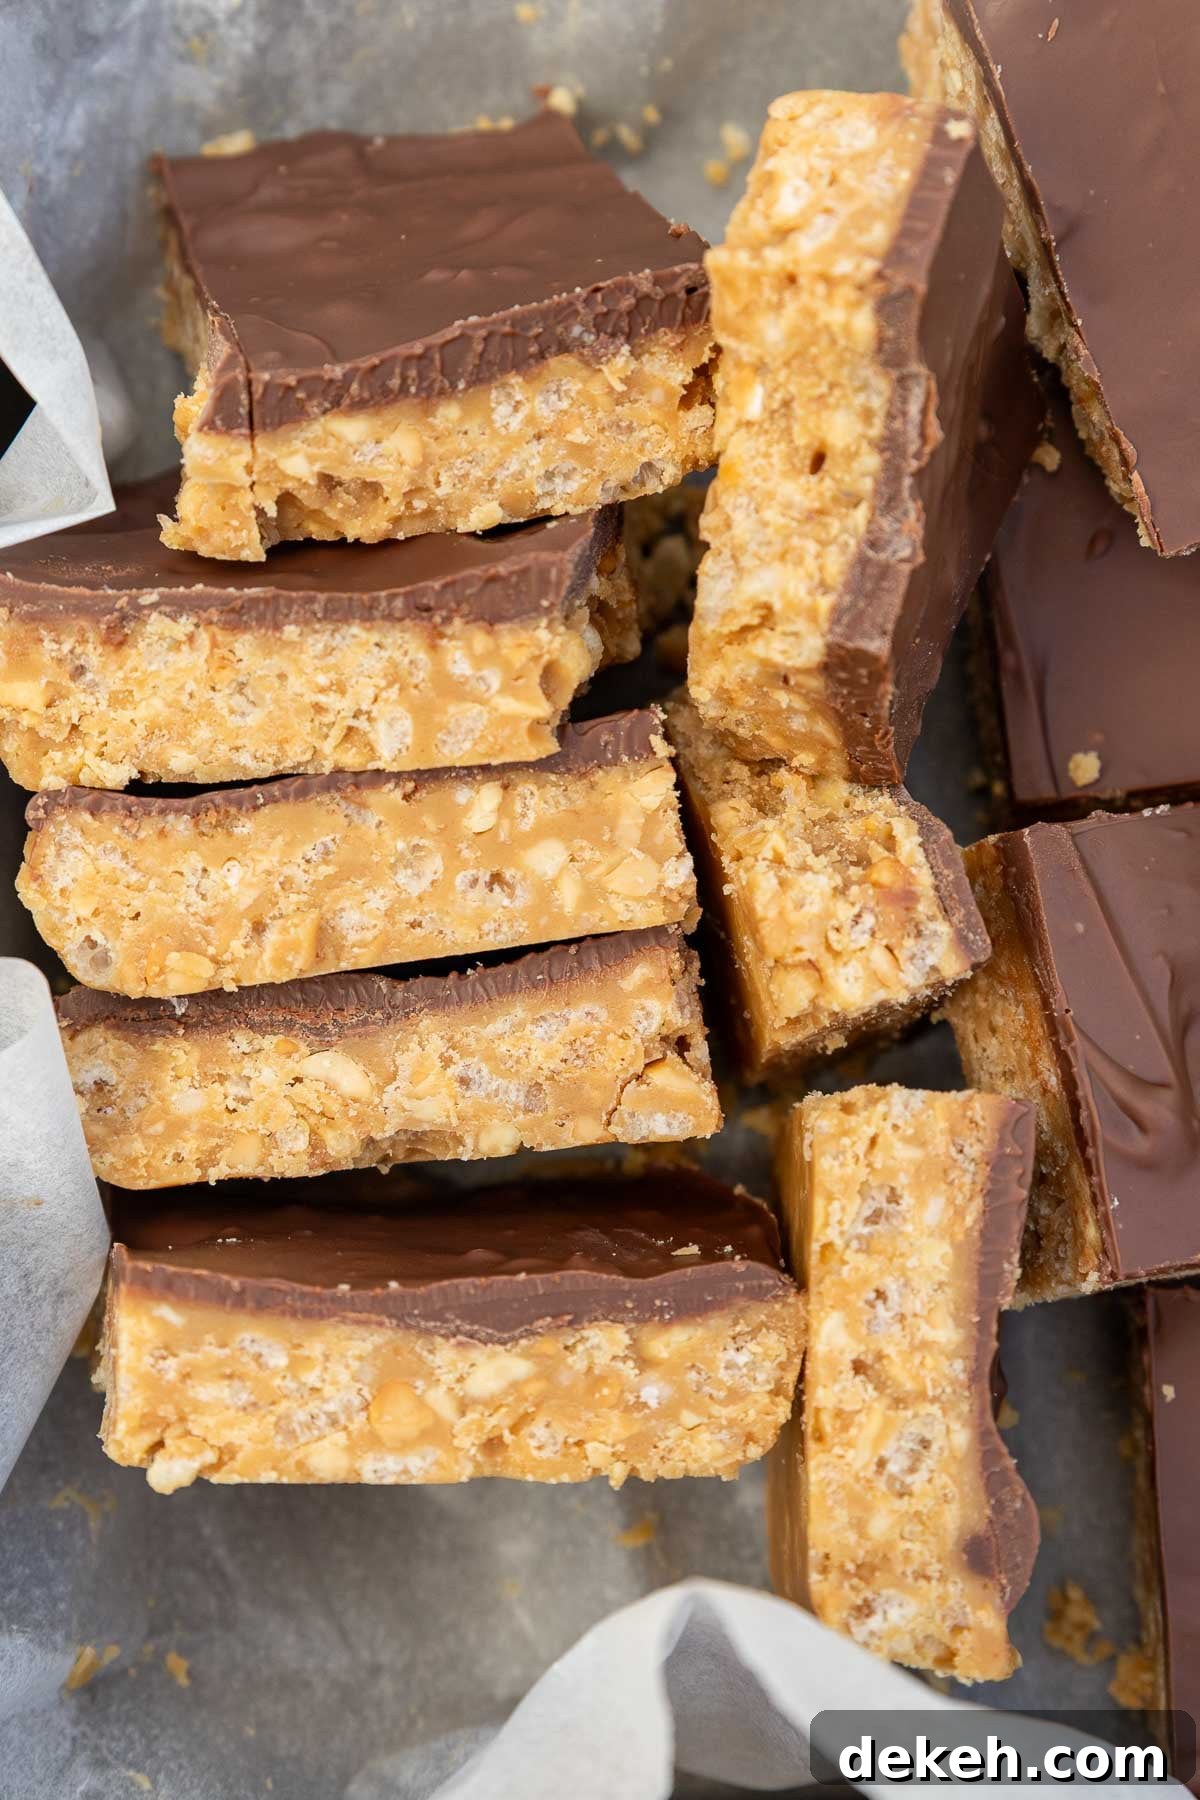
With just six simple ingredients and no oven required, these peanut butter crunch bars combine peanut butter, honey and rice krispies into a candy-bar-like treat. They’re ideal for an after-school snack or to satisfy an evening sweet craving. Hope you enjoy them as much as we do!
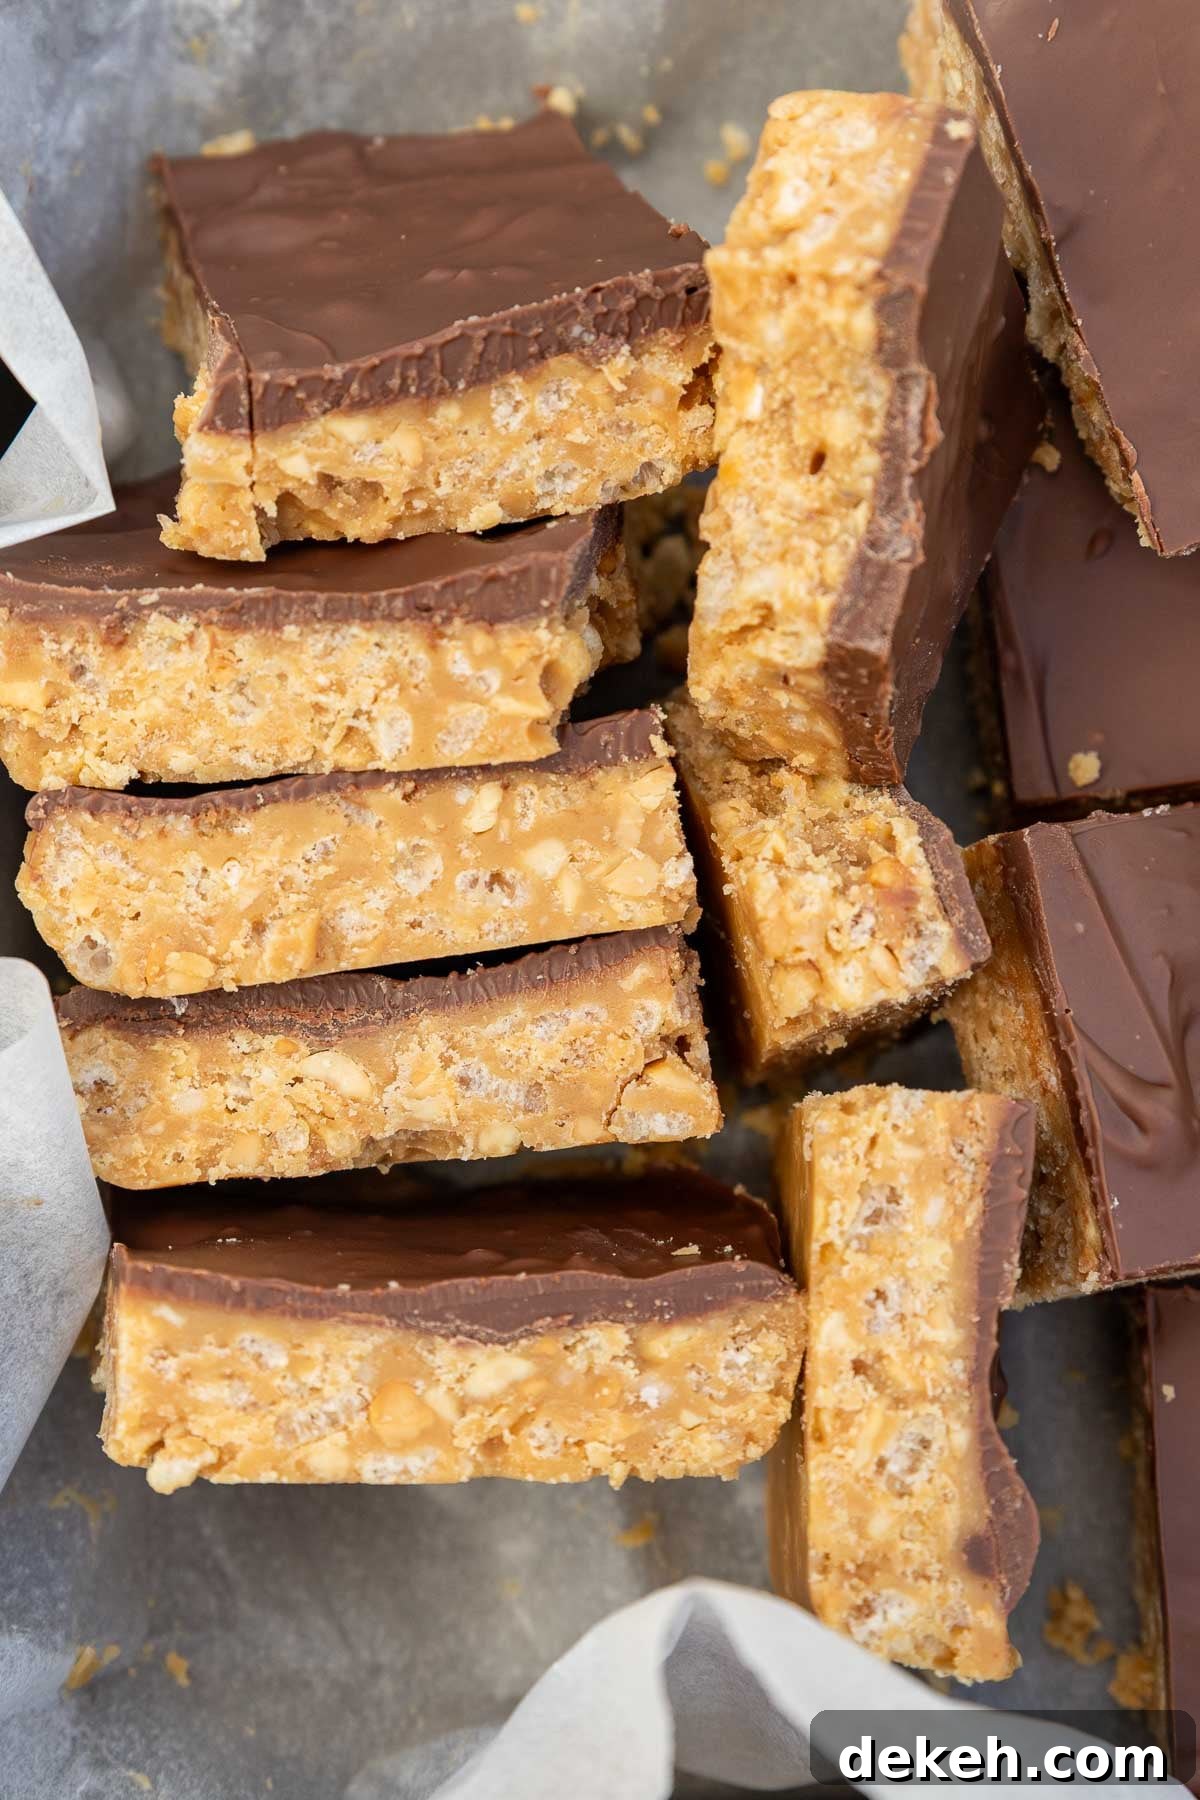
A simple treat for peanut butter lovers
These bars were inspired by a chocolate–peanut butter candy my son likes, and I wanted to recreate that familiar flavor in a quick, no‑bake version. The goal was a straightforward recipe where the sweet, buttery peanut butter layer is the star.
I replaced some refined sugar with honey to make them a slightly less indulgent treat. There’s a little butter and powdered sugar to bind the mix, but the main taste is a subtly crunchy, melt‑in‑your‑mouth peanut butter goodness with a hint of chocolate on top.
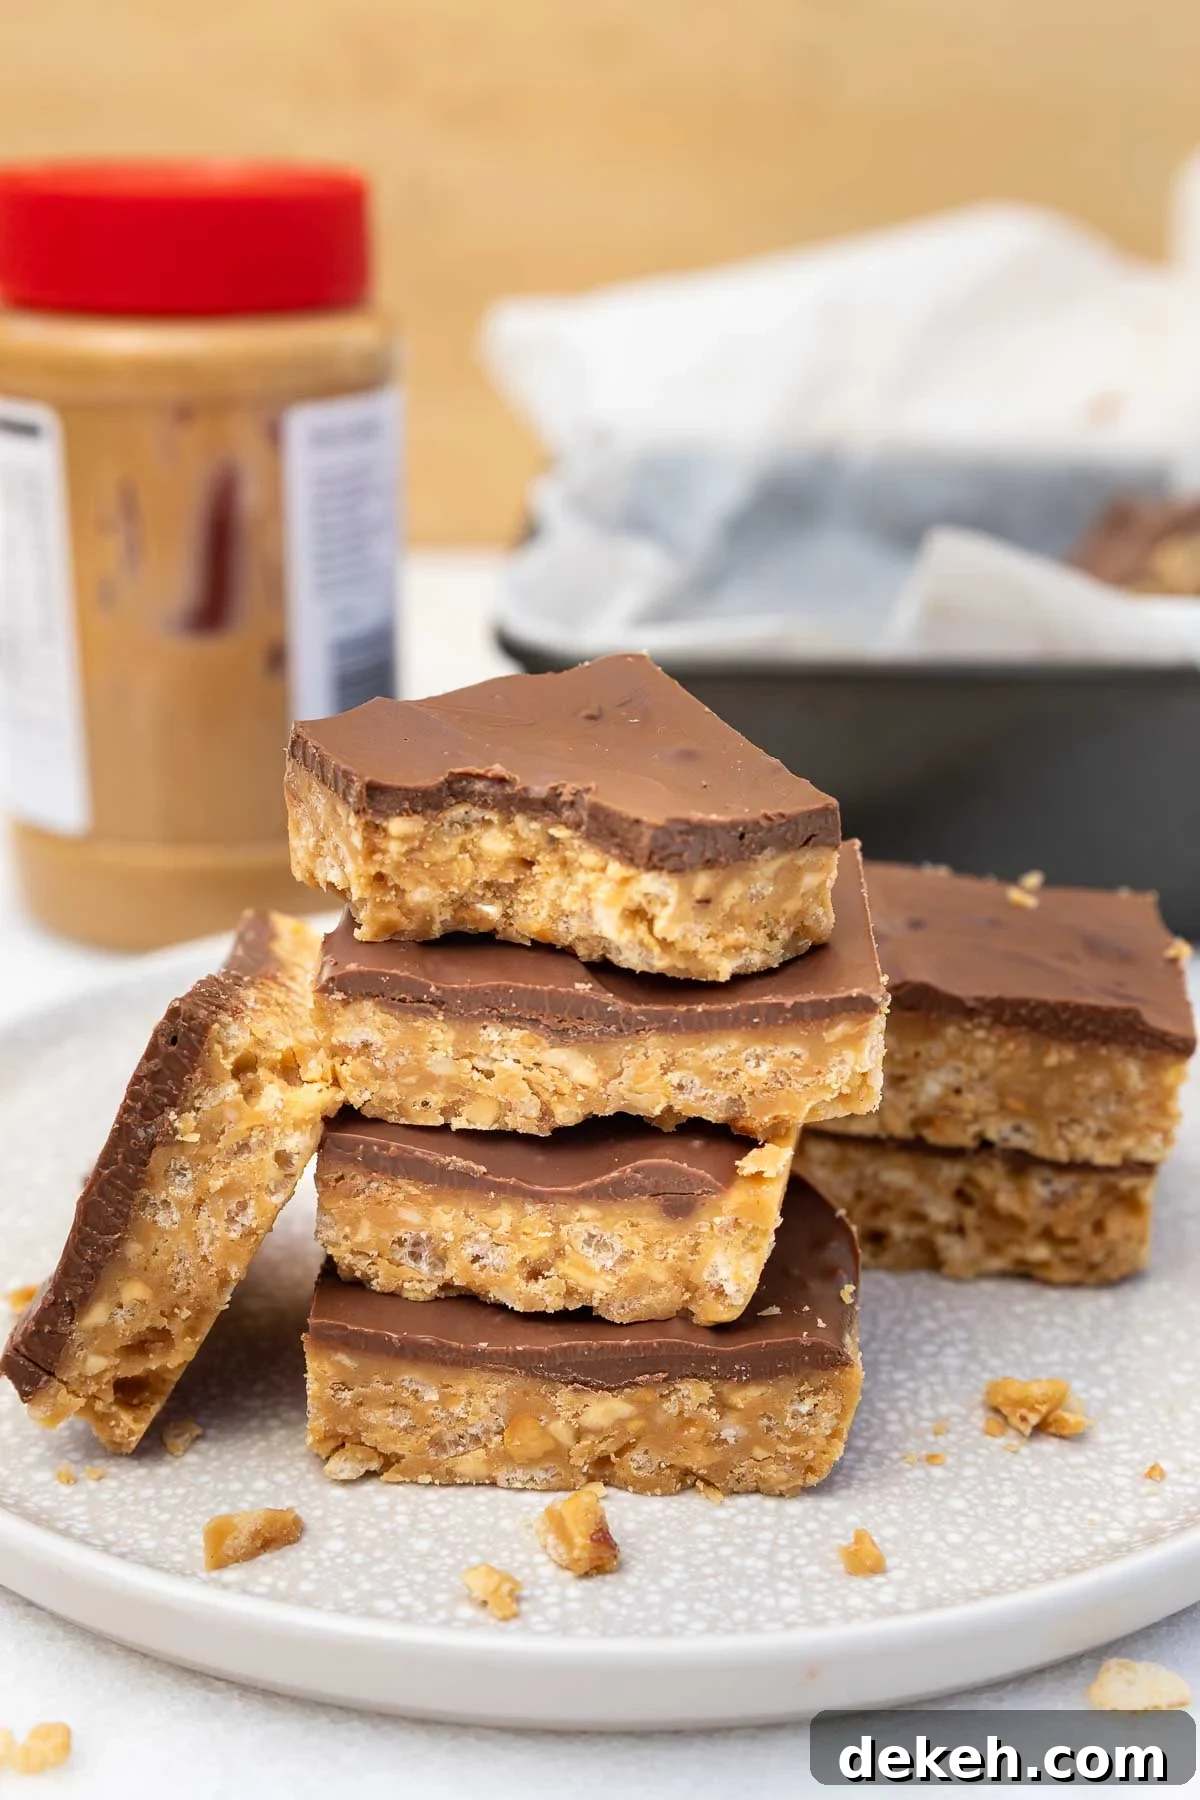
They come together in about 10–15 minutes, then chill in the fridge until set. Cut into small squares — they’re rich so a little goes a long way — and store in a sealed container in the freezer or fridge for grab‑and‑go snacks. Perfect for after school or as an evening pick‑me‑up, but keep an eye on the container: you’ll likely keep coming back for one more.
📌Recipe snapshot
- 6 ingredients
- No bake
- Sweet, buttery peanut butter flavor with a touch of chocolate and crunch
- Easily store in the freezer for quick treats
- Not-too-naughty: made mainly from peanut butter, honey and rice krispies
About the ingredients
Full ingredient amounts are in the recipe card below. Here’s a quick overview:
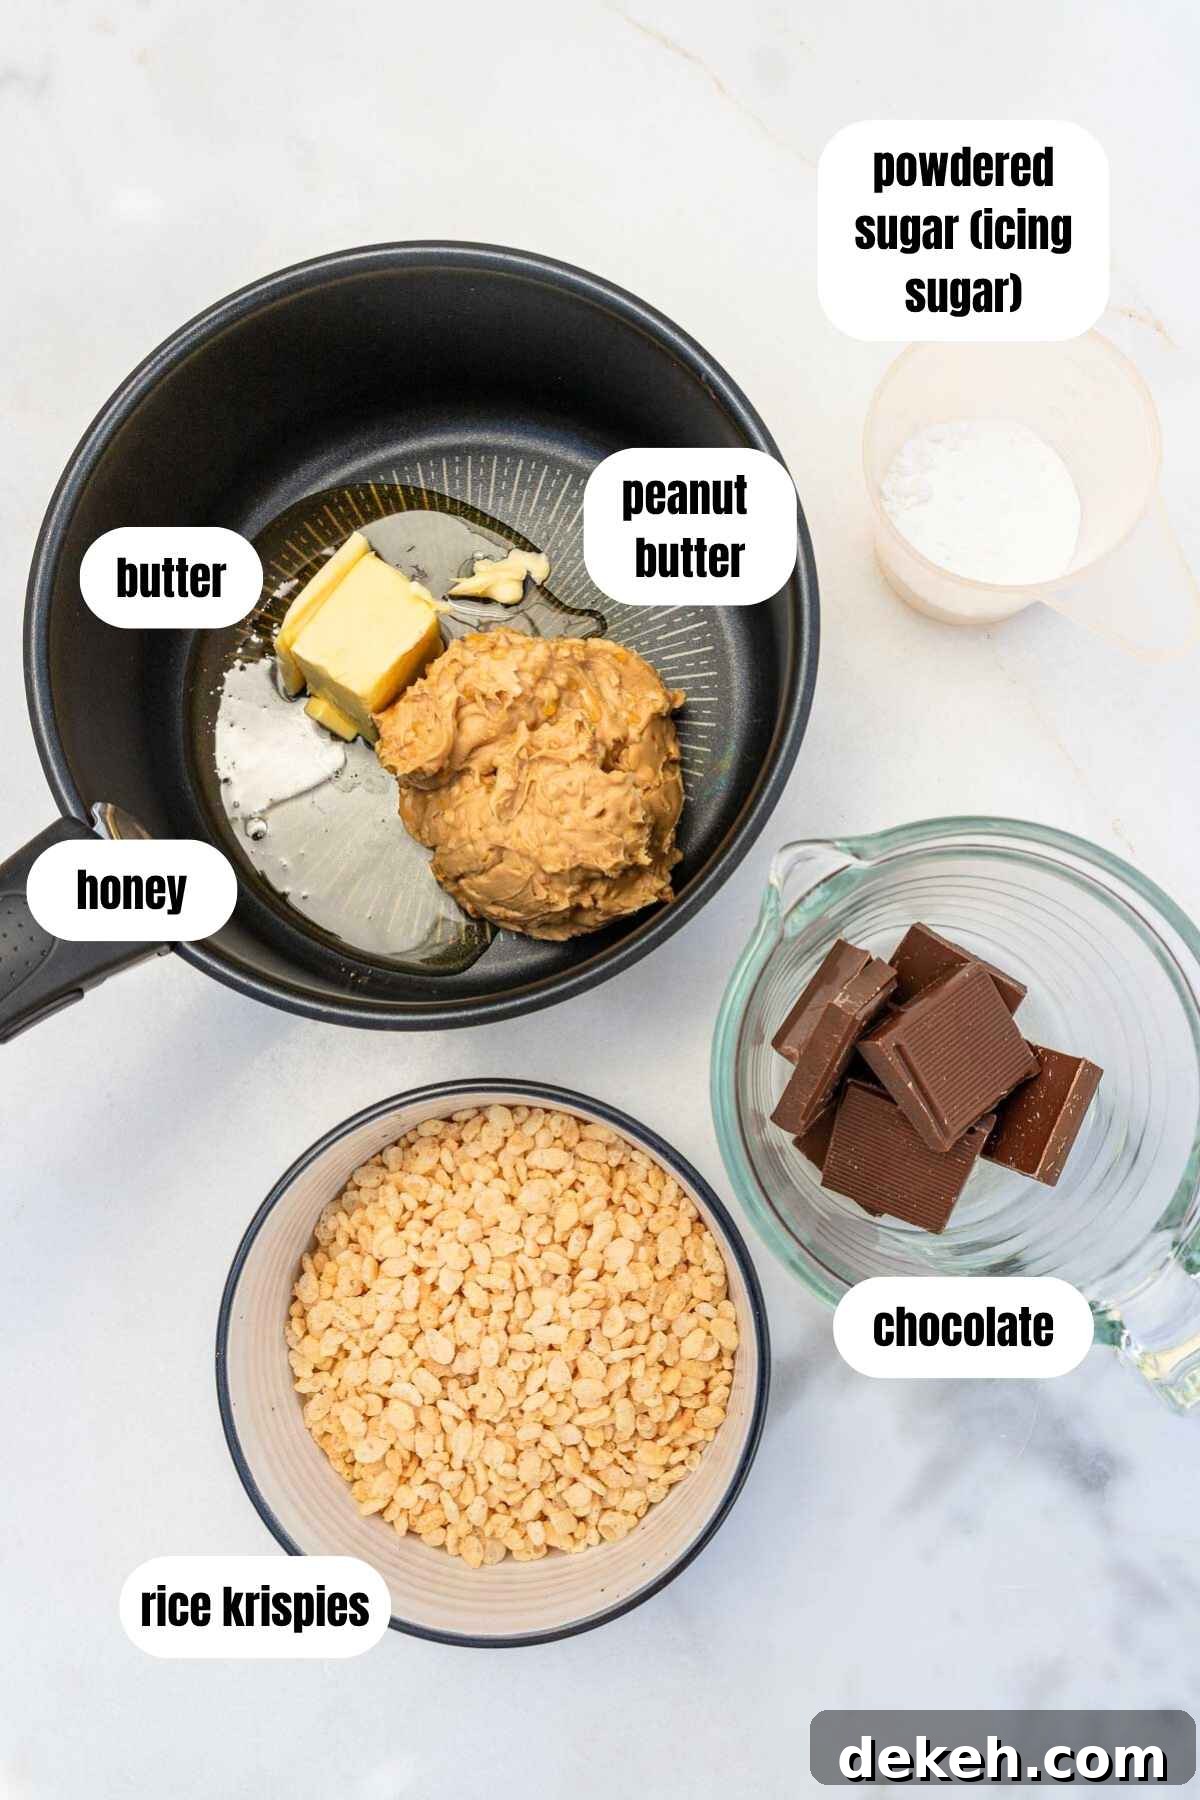
Peanut butter: Use crunchy or smooth. I prefer a natural peanut butter with only peanuts (and a pinch of salt if needed). You’ll need about 1 cup. If your peanut butter is unsalted, add roughly 1/4 teaspoon salt to the melted mixture for balance.
Honey: Runny honey works well to bind the ingredients. Maple syrup, date syrup or brown rice syrup can be substituted if needed.
Butter: Adds richness and helps the bars set with a pleasant texture. Use salted or unsalted; if your peanut butter is unsalted, add a little salt to the mix.
Powdered sugar (icing sugar): Thickens and helps the mixture hold its shape once set and cut.
Rice krispies: About 1½ cups adds light crunch without overpowering the peanut butter layer. They retain crispness well in chilled storage.
Chocolate: A thin chocolate layer complements but doesn’t overpower the peanut butter. Use dark or milk chocolate, roughly 5½ ounces, or about ¾ cup chocolate chips if preferred.
How to make peanut butter crunch bars
These are incredibly quick and easy. Follow the steps below, and see the recipe card for exact amounts.
Step 1: Line an 8 x 8 inch (20 x 20 cm) pan with baking paper.
Step 2: In a medium saucepan, melt the peanut butter, honey and butter together over medium heat. Let the mixture bubble gently for 1–2 minutes, then remove from heat and cool briefly.
Step 3: Stir in the powdered sugar to thicken, then fold in the rice krispies until evenly coated.
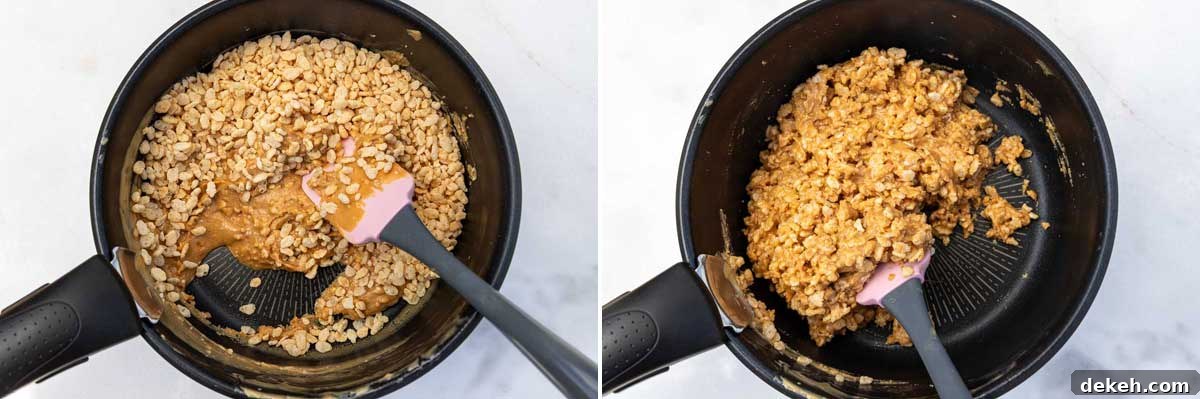
Step 4: Press the mixture firmly into the prepared pan, smoothing the top with a spatula or the back of a spoon.
Step 5: Melt the chocolate in a microwave-safe bowl in 30‑second bursts, stirring between intervals until almost fully melted (about three bursts). Stir until smooth; add a half teaspoon of neutral oil if you want a more flexible chocolate layer for cleaner cutting (optional).
Step 6: Spread the melted chocolate evenly over the peanut butter base and refrigerate until the chocolate is set, at least 30 minutes.
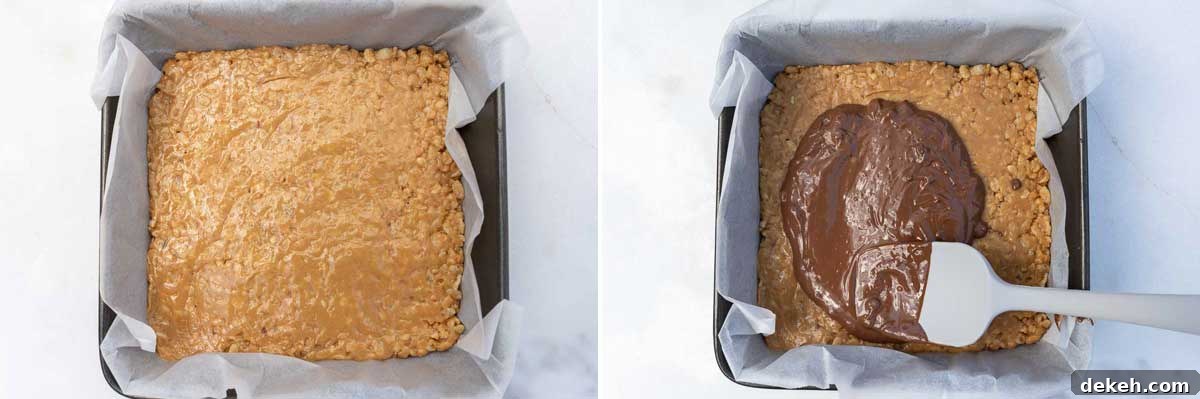
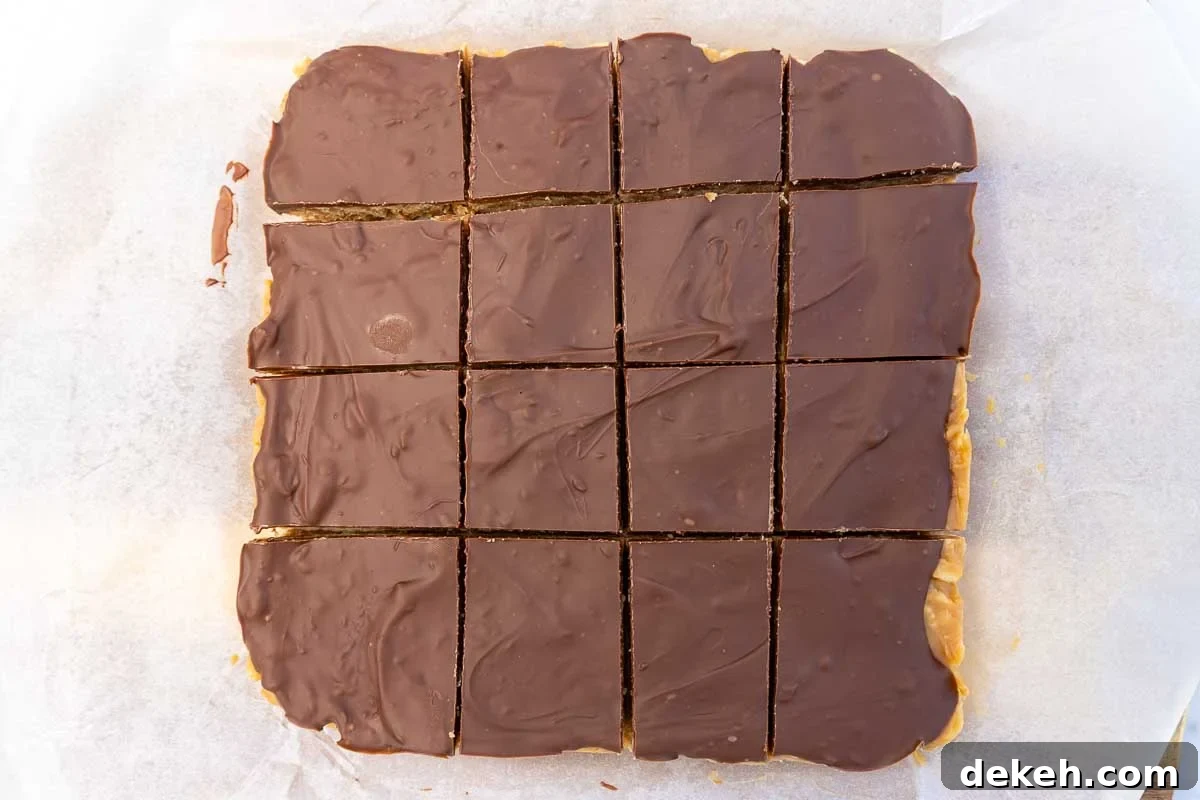
Step 7: Lift the set slab out of the pan using the baking paper edges. Use a large sharp knife warmed under hot water and dried for clean cuts — wipe the blade between slices — and cut into small squares. Store in an airtight container in the fridge for up to 3–4 days or in the freezer for 1–2 months.
Helen’s Top Tips
- Neater cuts: Warm a large knife under hot water, dry it, then slice. Wipe the knife between cuts for tidy squares.
- Storage: Keep the bars chilled in the fridge or frozen. They stay firmer and hold together better when cold.
- Prevent sticking: Store between sheets of baking paper in an airtight container. They keep crisp in the fridge for several days and in the freezer for up to two months.
Recipe FAQs
Let the mixture cool completely before chilling and store the bars in an airtight container between sheets of baking paper. Keeping moisture out is the key to preserving the crunch.
Yes. Almond, cashew or sunflower seed butter will work. Stir well before using so the oil is incorporated; overly runny nut butters may affect how well the bars hold together.
Yes. You can skip the chocolate, use less, or simply drizzle a little melted chocolate over the surface instead of a full layer.
Not always—many rice krispie cereals contain barley malt. Use certified gluten‑free rice krispies and check all ingredient labels to make them gluten free.
More no-bake chocolate treats
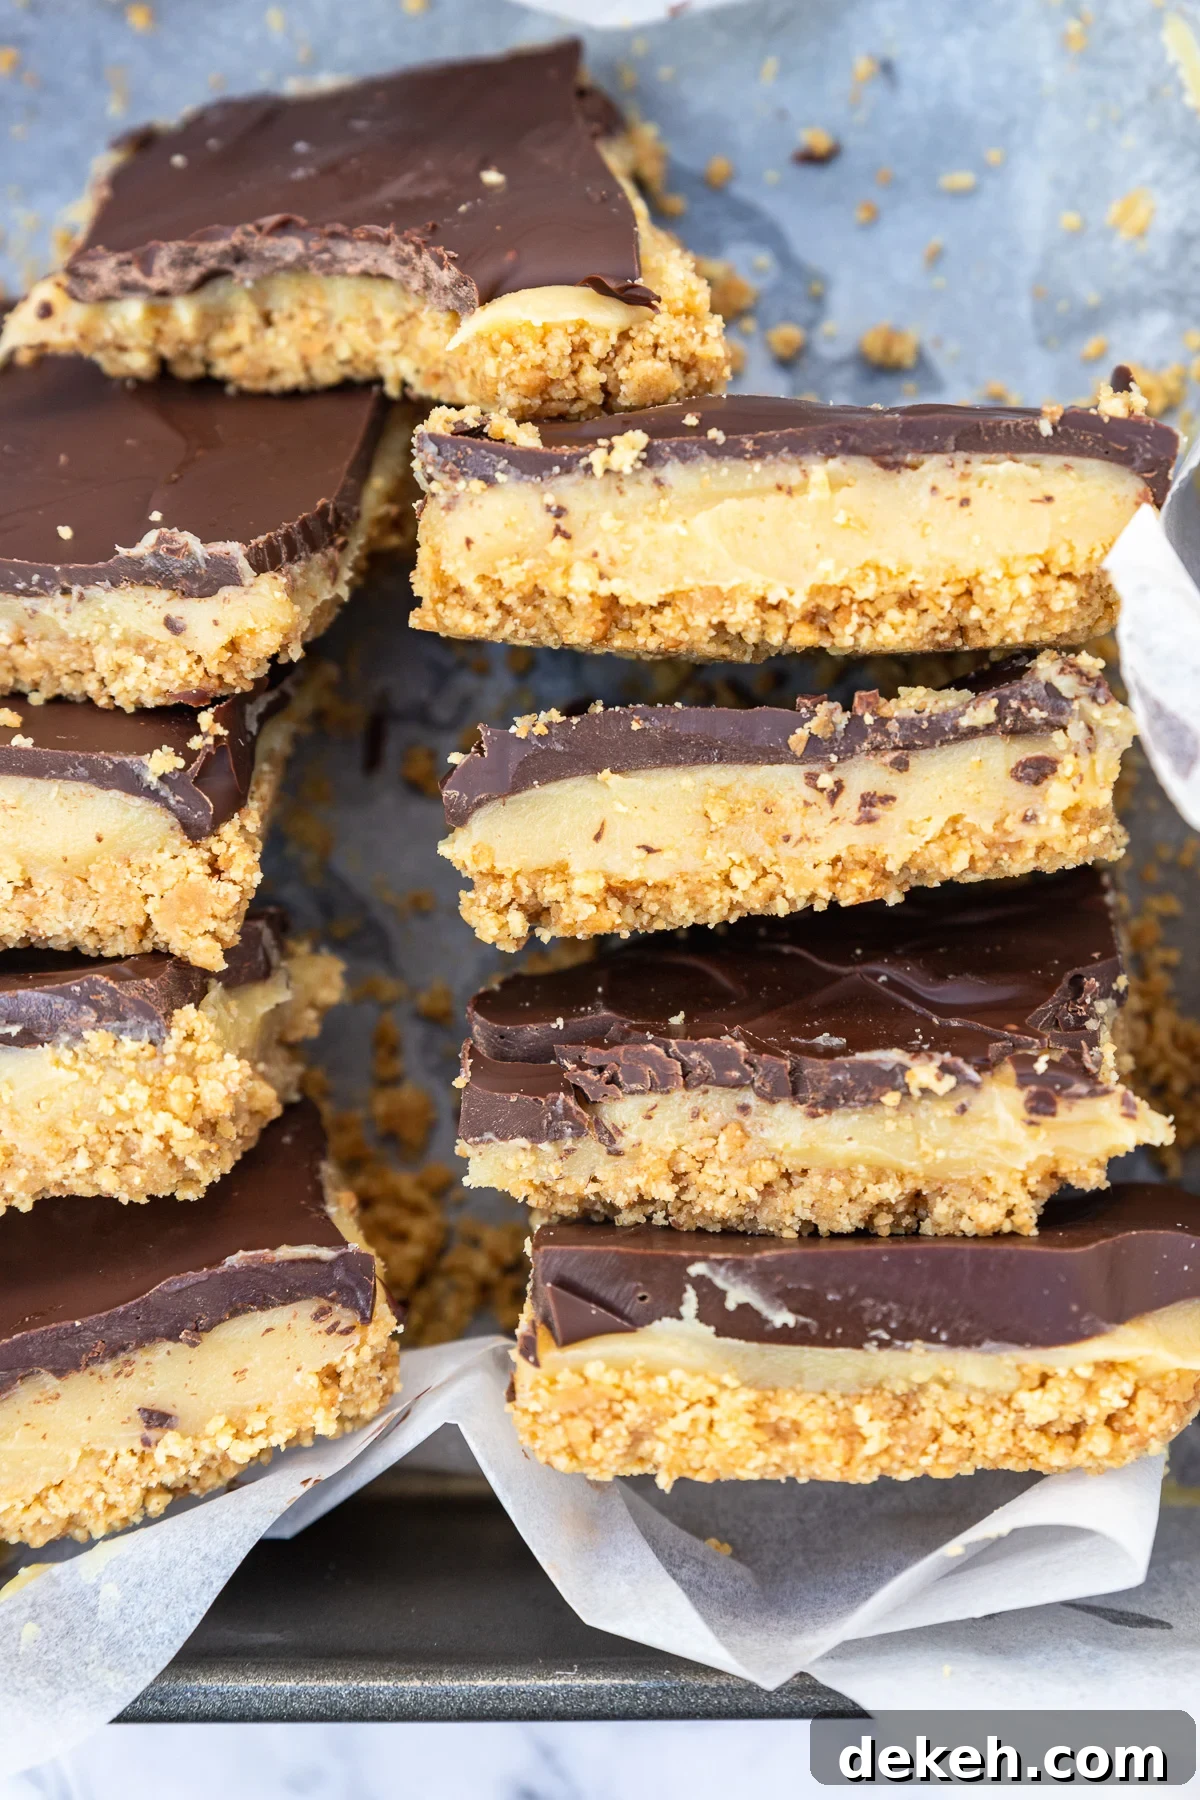
- No‑bake caramel slice — a simple, popular classic.
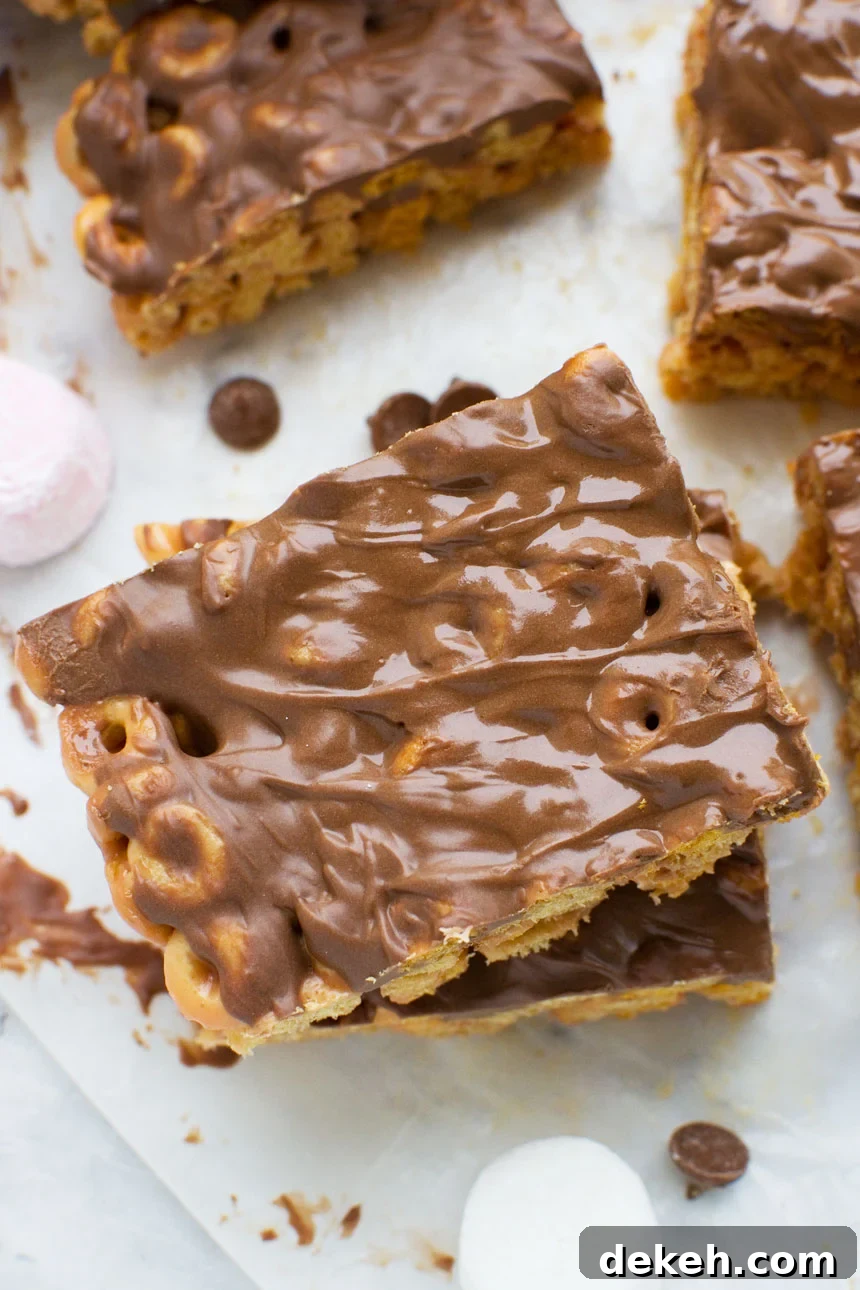
- Peanut butter Cheerio bars — more like a sweet cereal bar, great for lunch boxes and picnics.
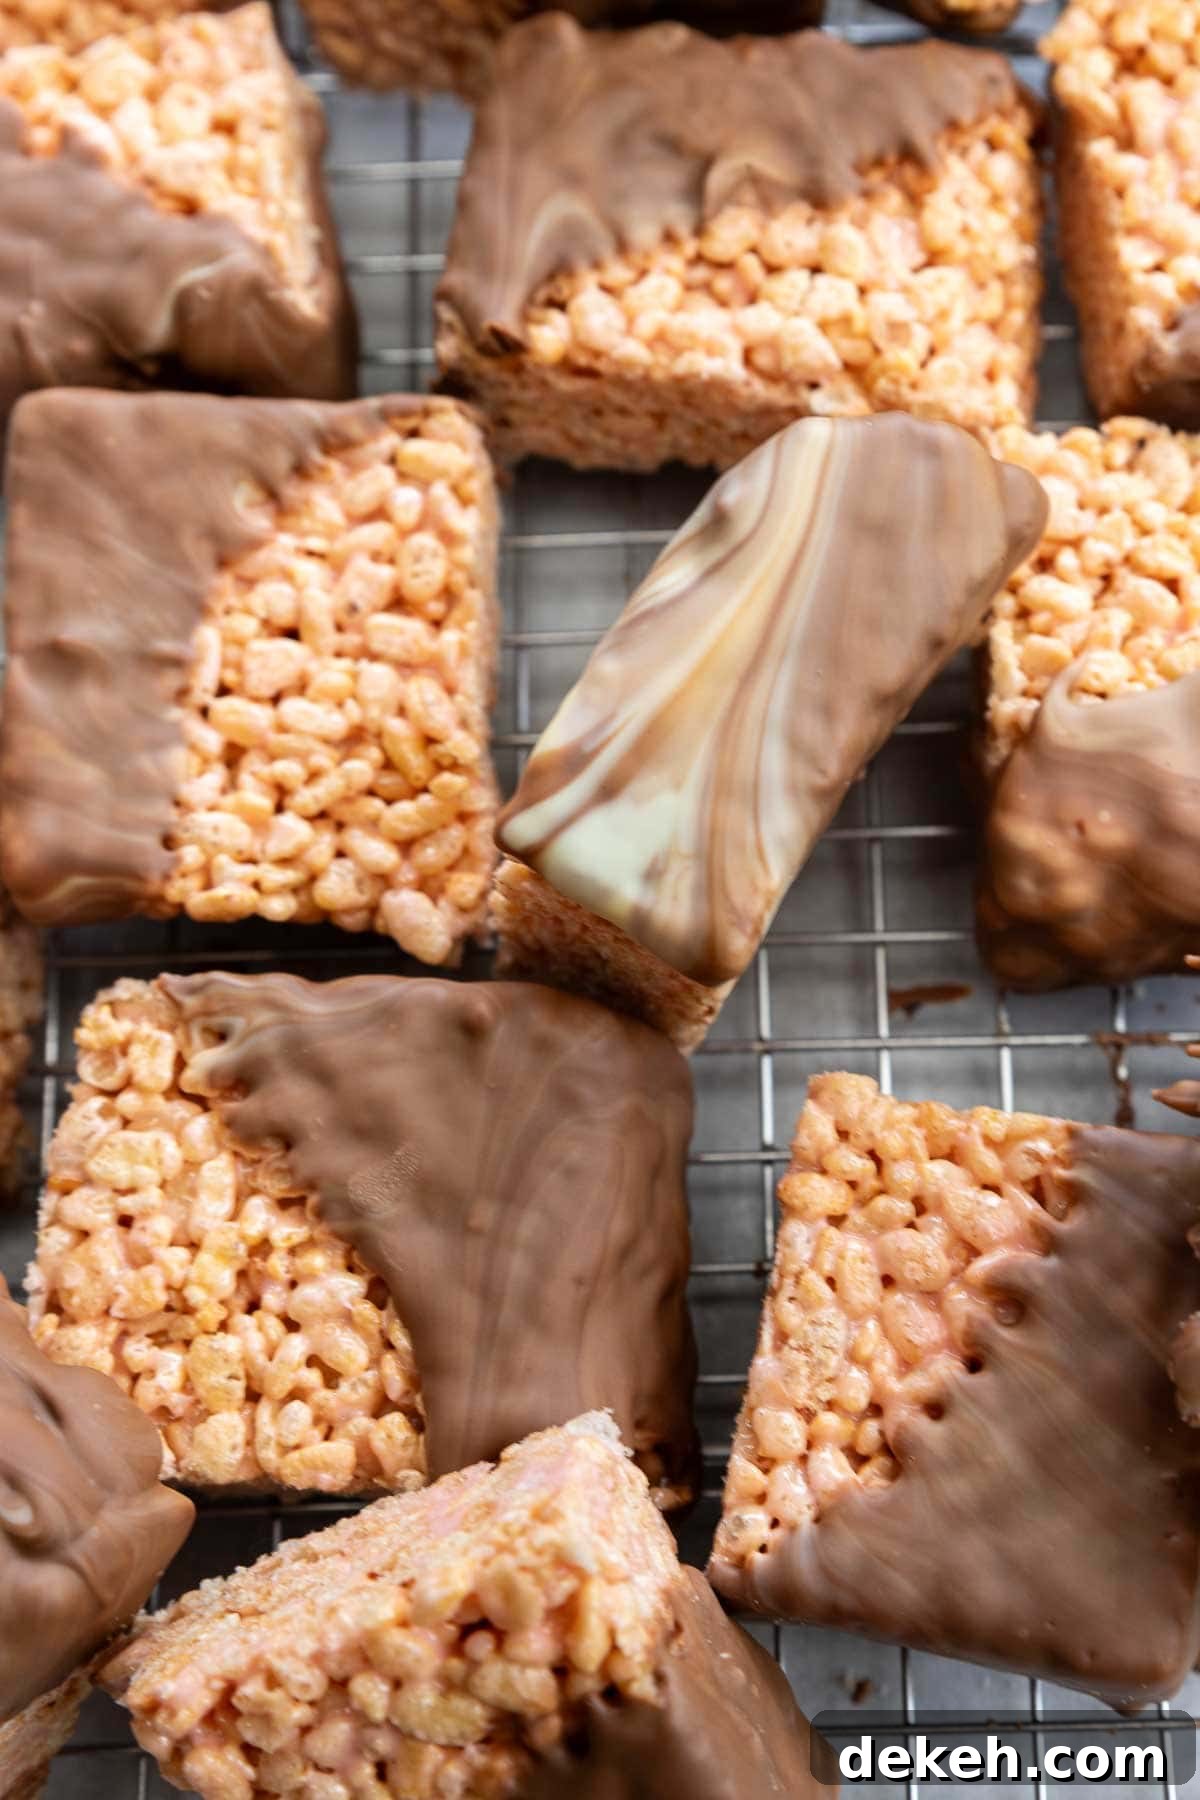
- Chocolate‑covered rice krispie bars — classic and easy to decorate for special occasions.
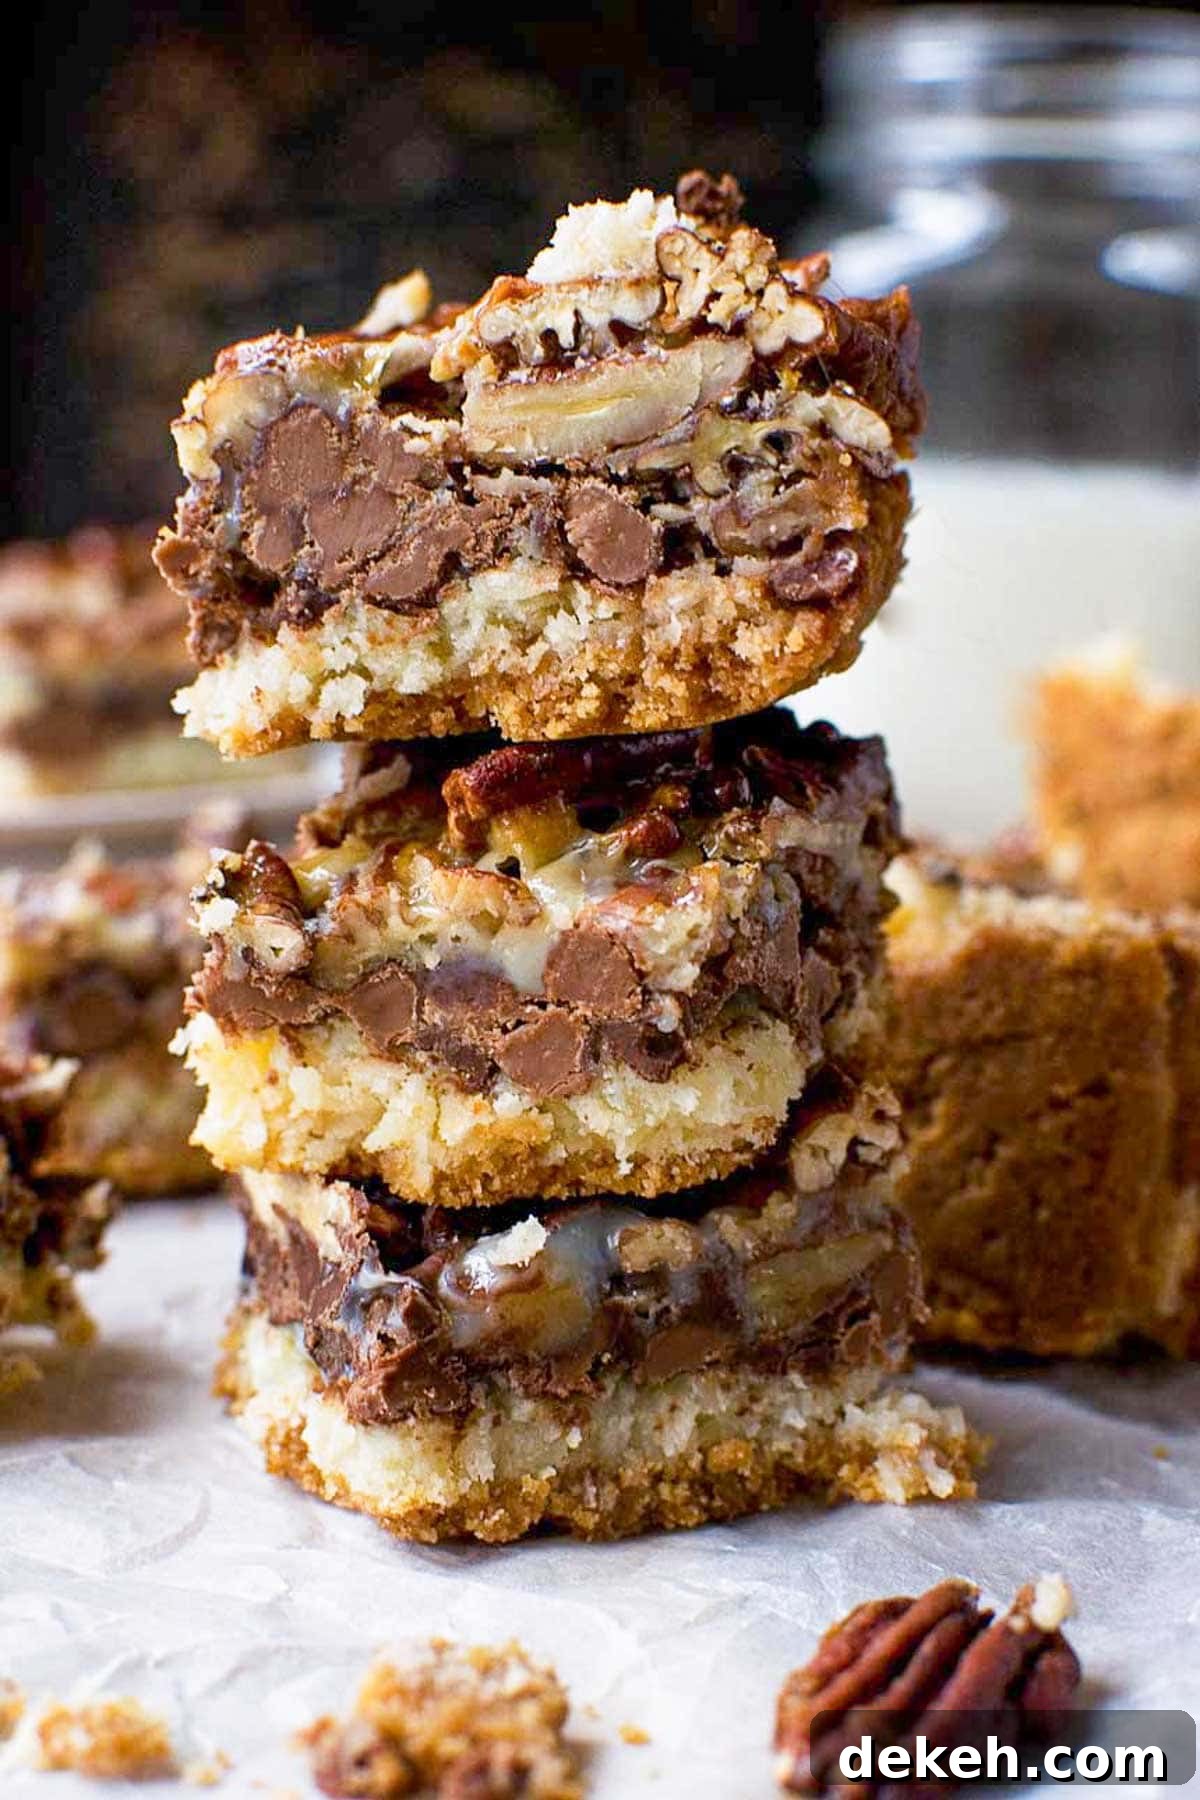
- 7‑layer bars — perfect for using up odds and ends in your pantry.
Peanut Butter Crunch Bars (6 Ingredients, No Bake)
Pin Recipe
Rate Recipe
Print Recipe
Start Cooking
Equipment
-
square baking pan (8 x 8 inches)
-
spatula or large spoon
Ingredients
- 1 cup peanut butter (add ~1/4 tsp salt if peanut butter is unsalted)
- 1/4 cup butter
- 1/4 cup honey
- 1/4 cup powdered sugar (icing sugar)
- 1½ cups rice krispies
- 5½ ounces chocolate (dark or milk; ~¾ cup chocolate chips)
Instructions
-
Line an 8 x 8 inch (20 x 20 cm) baking pan with baking paper.
-
Melt the peanut butter, honey and butter in a medium saucepan over medium heat. Let it bubble gently for 1–2 minutes, then remove from heat and cool for a few minutes.
-
Stir in the powdered sugar until thickened, then fold in the rice krispies until evenly combined.
-
Press the mixture into the lined pan and smooth the top. Chill briefly while you prepare the chocolate.
-
Break the chocolate into pieces and melt in 30‑second microwave bursts, stirring between each burst, until almost fully melted. Stir until smooth; add ½ tsp oil if desired for a more flexible finish.
-
Pour and spread the melted chocolate over the peanut butter base. Refrigerate until set, at least 30 minutes.
-
Lift out the set slab using the baking paper, then cut into small squares with a hot, dry knife for clean slices. Store in an airtight container in the fridge for up to 4 days or in the freezer for 1–2 months.
Notes
Nutrition
,
Carbohydrates: 16g
,
Protein: 4g
,
Fat: 15g
Like this recipe? Rate and comment below!