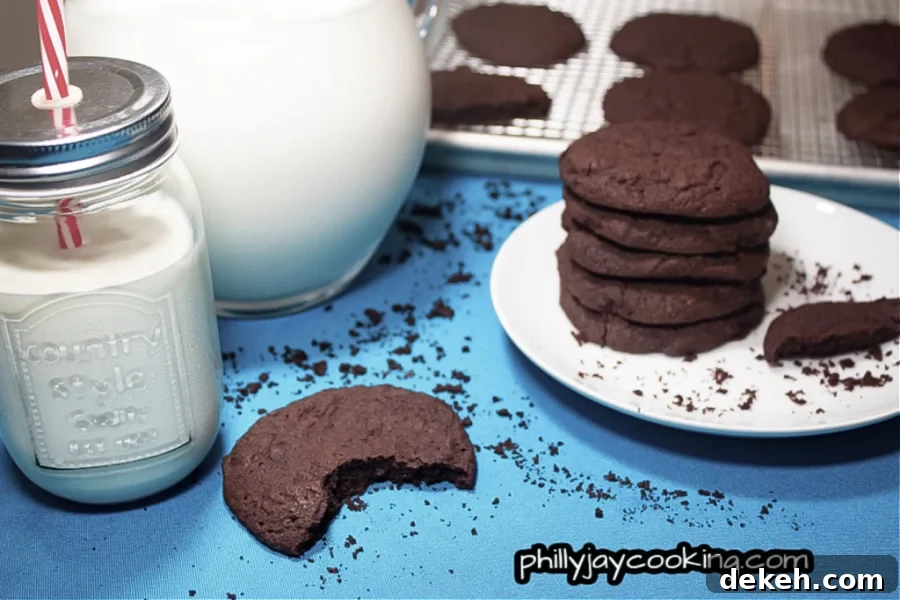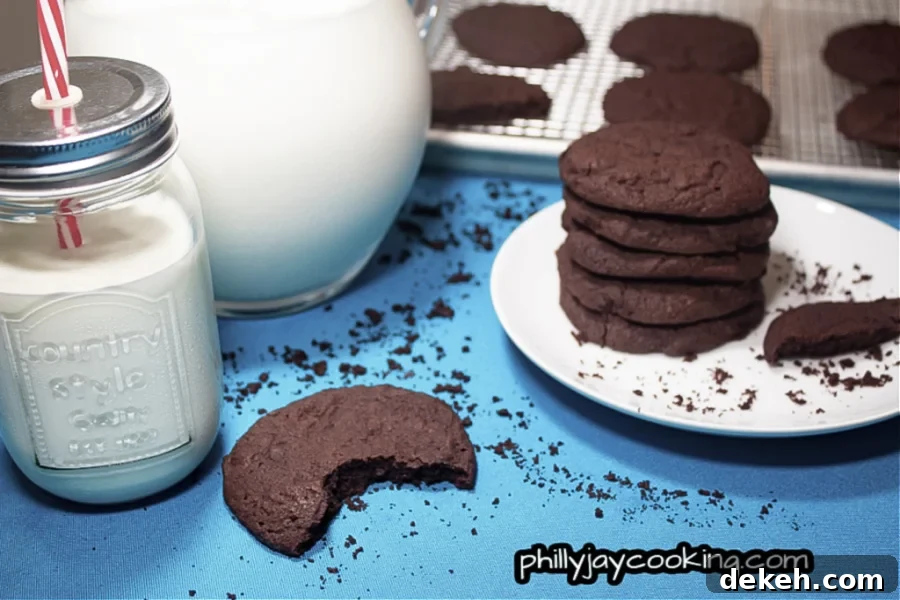
I’ve never been fond of baking because it demands precision—too much or too little of an ingredient can ruin a cake, pie, or cookie. It took time and experimentation to perfect these chocolate cookies, but the result is a simple, delicious cookie I’m proud to share.
Although I’m not usually a chocolate fan, I kept adjusting this recipe until the balance, texture, and flavor were just right. These cookies are moist and chewy inside with a pleasant crunchy exterior, not overly sweet or bitter. They’re ideal for kids and make a great family snack for movie night.
What makes this a great chocolate cookie recipe?
These cookies hit several marks that make them stand out:
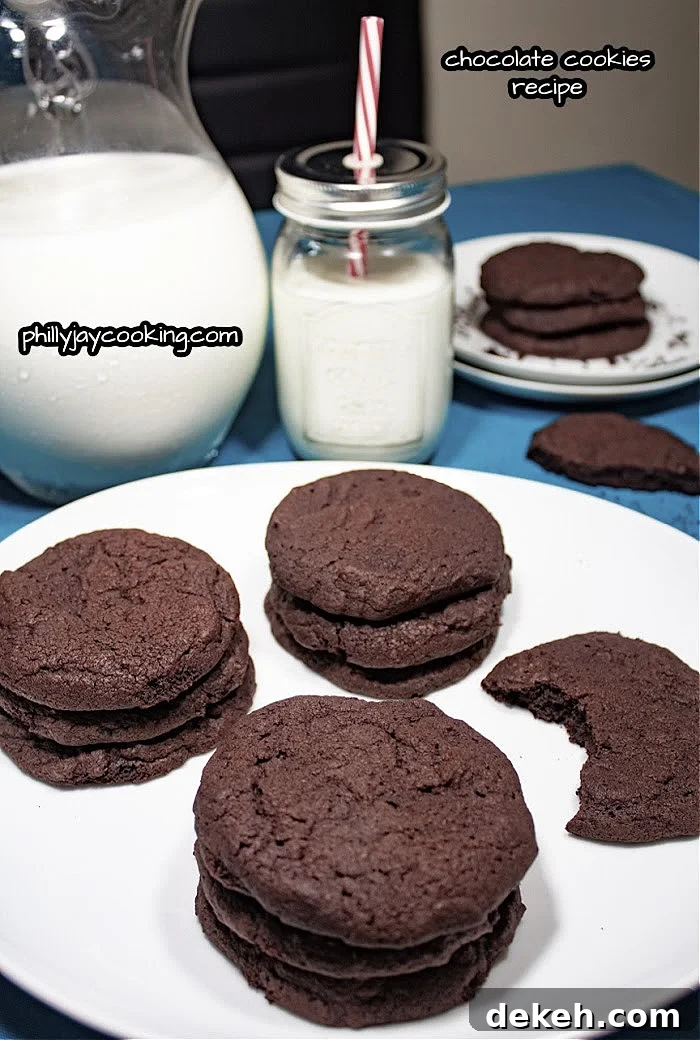
- Moist and chewy: Soft, tender centers with slightly crisp edges—no rock-hard, flat cookies here.
- Balanced chocolate flavor: Not too sweet and not too bitter. The cocoa and sugars are balanced so the chocolate tastes just right.
- Kid-friendly: The texture and flavor appeal to children, and the recipe is simple enough for them to help with mixing, rolling, and cutting.
- Easy to involve kids: Measuring, rolling, and cutting make this an engaging activity for kids who want to help in the kitchen.
- Perfect movie-night snack: Light enough to enjoy late at night without feeling too heavy.
Childhood cookie memories
I remember my mom buying refrigerated Pillsbury cookie dough and cutting it into rounds before baking. I used to beg for the cold dough pieces because they reminded me of ice cream—she’d usually relent and give me a small piece. I didn’t become a cookie lover right away; I preferred pudding, yogurt, and ice cream. Over time, I learned to appreciate homemade cookies and eventually created this recipe.
Boy Scout cookies
In sixth grade we sold Boy Scout cookies. My mom and I always loved Caramel deLites—those were our favorites. Even though I wasn’t a huge cookie fan then, I grew to appreciate well-made chocolate treats, especially when they’re moist and chewy like these.
Use quality ingredients
Because this recipe uses relatively few components, use high-quality ingredients: pure vanilla extract (not imitation), a reliable unsalted butter, good brown sugar, and a trusted cocoa powder like Hershey’s Unsweetened Cocoa Powder. Better ingredients make a noticeable difference in flavor.
Ingredients you’ll need:
Dry Ingredients
- Flour: All-purpose flour forms the structure of the cookie.
- Cocoa powder: Unsweetened cocoa for chocolate flavor.
- Leaveners: Baking powder and baking soda help the cookies rise and develop a chewy texture with crisp edges.
- Salt: Enhances the flavor—don’t skip it.
Wet and non-dry ingredients
- Sugar: Brown sugar adds moisture and depth. Using part confectioner’s sugar helps avoid detectable granules in the finished cookie.
- Egg: Provides structure, moisture, and some leavening. Use a large egg.
- Fat: Unsalted butter is recommended; if you only have salted butter, reduce added salt.
- Vanilla extract: Pure vanilla enhances the overall flavor and complements the cocoa.
Cookware & utensils you’ll need:
- Measuring cups: Accurate measurement is essential in baking.
- Knife: For leveling measured flour and cocoa.
- Strainer: For sifting dry ingredients to remove clumps.
- Whisk: To combine dry ingredients evenly.
- Large mixing bowl: For creaming and mixing ingredients without spilling.
- Hand mixer: Helpful for creaming butter and sugar smoothly.
- Spatula: To scrape the bowl and fold ingredients together.
- Rolling pin and cookie cutters: For rolling and cutting dough; alternatively, use a cookie scooper.
- Parchment paper and baking sheet: Prevents sticking and protects cookie bottoms.
- Cooling rack: Allows cookies to cool evenly and prevents soggy bottoms.
Flour, cocoa, and baking powder tips
- Use fresh baking powder: If your cookies aren’t rising, expired baking powder can be the cause.
- Measure accurately: Scoop flour and cocoa into measuring cups and level with a knife for precise amounts.
Sifting dry ingredients
Sifting is recommended because it:
- Breaks up clumps: Ensures accurate measurement and even mixing.
- Removes debris: Catches any foreign pieces that might be in the dry ingredients.
- Creates a smoother mixture: Produces a lighter, more even crumb.
- Aerates flour: Refreshes compacted flour for consistent texture.
The importance of salt
Salt is a flavor enhancer and plays an important role in sweet recipes. Even a small amount brightens the chocolate and balances the sweetness. Don’t omit it.
Why are my cookies spreading and flat?
Flat, overly spread cookies are a common problem. The main causes are:
- Melted butter: Use properly softened, not melted, butter. Melted butter makes the dough too loose and causes excessive spreading.
- Too-hot oven: If the oven is excessively hot, butter can melt before the cookie sets, preventing proper structure.
- Not enough flour: Flour provides structure and absorbs fat; too little leads to flat cookies.
Bake them ahead of time
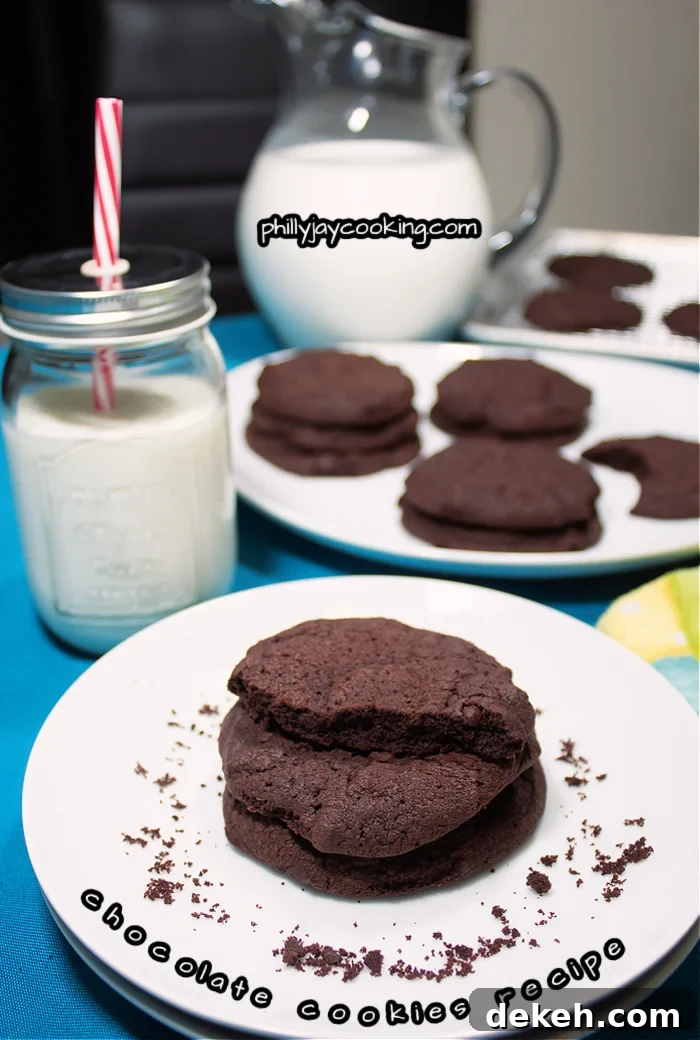
After baking, cool cookies on a rack and let them rest a few hours covered at room temperature. This resting time helps flavors meld and the cookies firm up to the ideal crunchy-yet-moist texture—perfect for evening treats.
How to make chewy chocolate cookies
- Scoop and level flour and cocoa for accurate measurement.
- Sift the dry ingredients (flour, cocoa, baking powder, baking soda, salt) into a large bowl.
- Whisk to combine thoroughly.
- Cream the butter and sugars until smooth.
- Add the egg and vanilla and mix until incorporated.
- Add the dry ingredients to the butter mixture and mix until crumbs form.
- Gather the crumbs and knead by hand into a ball of dough.
- Wrap the dough in plastic wrap.
- Chill in the refrigerator for 30 minutes to let flavors meld and firm up the dough.
- Preheat oven to 375°F and line a baking sheet with parchment paper.
- Divide the dough, press and roll it to about 1/8 inch thick, or scoop portions for rounded cookies.
- Cut with cookie cutters or use a scooper, then place on the lined baking sheet.
- Recombine scraps, roll out, and cut more cookies as needed.
- Bake on the top oven rack for about 10 minutes.
- Transfer cookies to a cooling rack immediately after baking to prevent soggy bottoms.
Tips for best results:
- Butter consistency: Use room-temperature butter—neither frozen nor melted.
- Scrape the bowl: Use a spatula to scrape sides and bottom so everything mixes evenly.
- Top rack baking: Avoid the bottom rack to prevent burning.
- If cookies don’t spread: Gently press them into shape while still warm, then let them cool.
- Remove parchment immediately: Place cookies on a cooling rack when done so moisture doesn’t make the bottoms soggy.
Serving suggestions:
- Milk: A classic pairing—milk and cookies are always satisfying.
- Vanilla ice cream: Crumble cookies into vanilla ice cream for a cookies-and-cream treat.
Storage
- Storage: Keep cookies in a cookie jar at room temperature for a few days, or refrigerate if you prefer chilled cookies.
- Freezing: Freeze baked cookies in a sealed bag to keep them fresh longer.
- Freezing dough: Portion and freeze unbaked cookie rounds or wrapped dough; bake directly from frozen or thaw before shaping.
Frequently Asked Questions
- How to get firmer cookies? Bake a few minutes longer for a crunchier texture.
- How long do they last? Fresh cookies stay at their best for about 4–5 days.
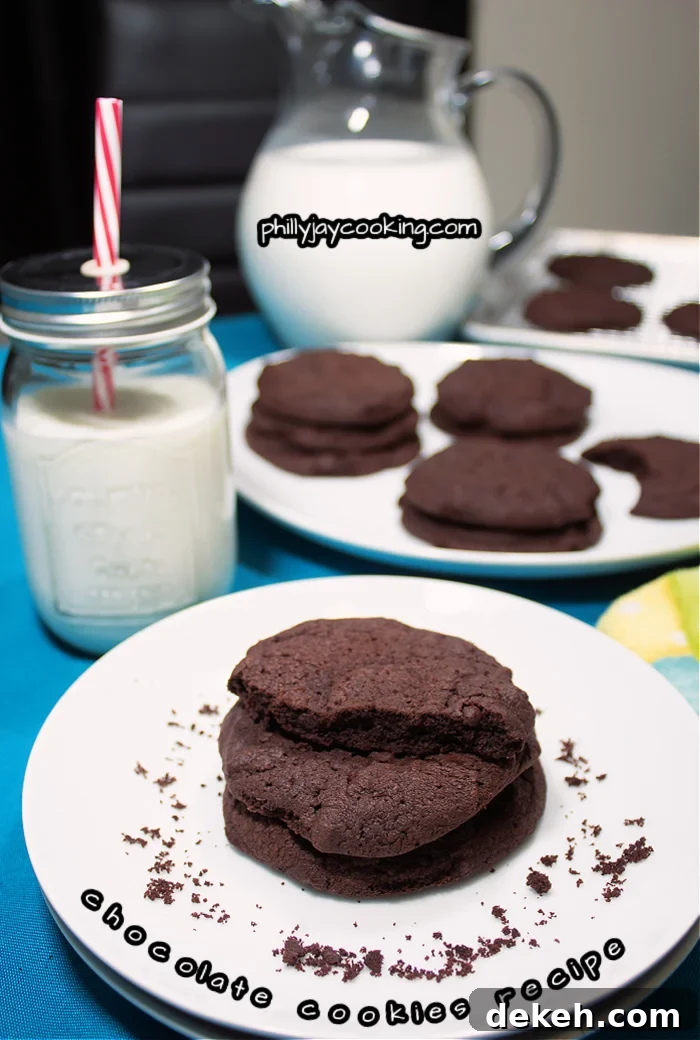
These chocolate cookies are moist, chewy, and flavorful—so good even those who typically don’t love chocolate may find themselves reaching for seconds. Try the recipe and enjoy!
Enjoy, later!
PBJ~