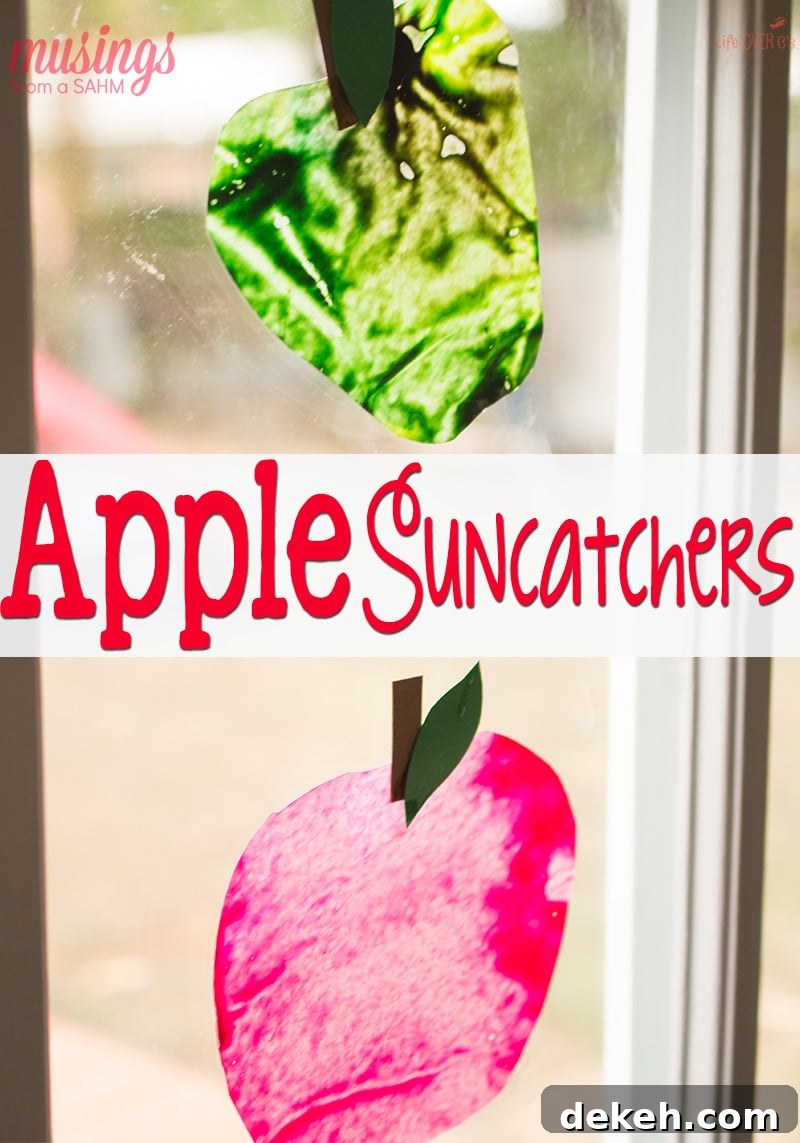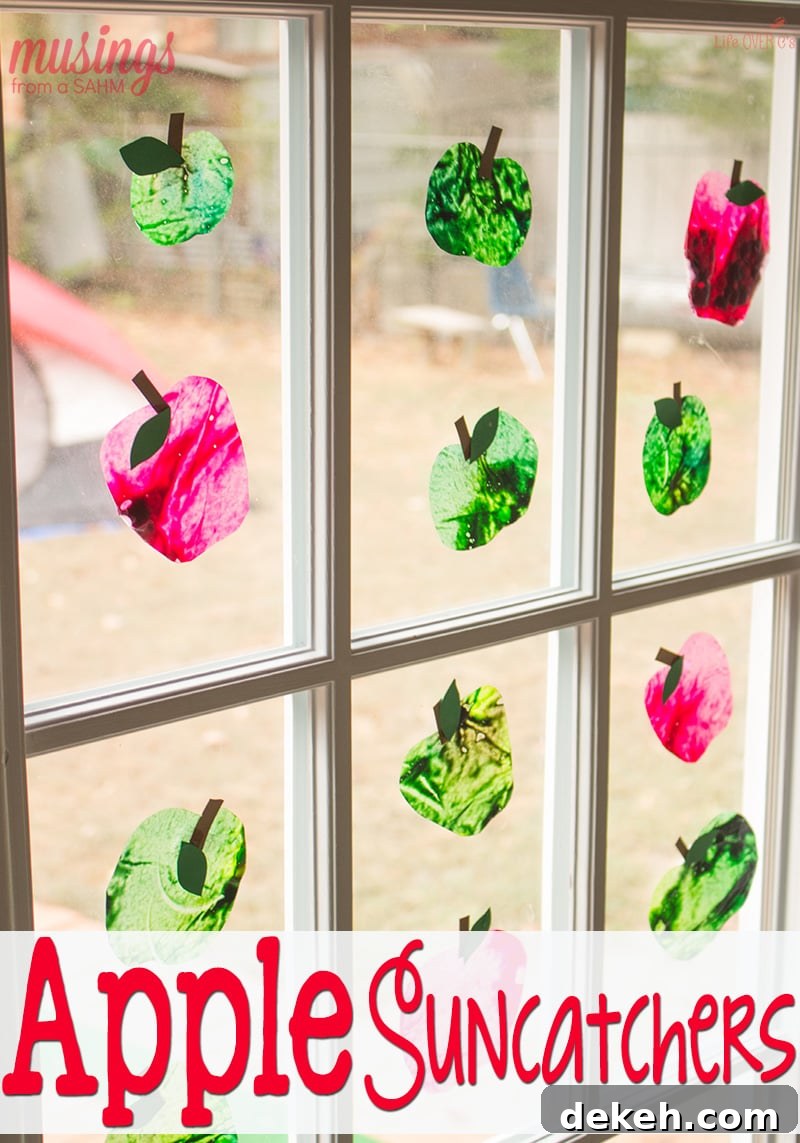
With so many new craft supplies each season, it can be overwhelming to choose projects to make with your children. This classic fall activity is refreshingly simple. My mom made this when I was little, and it was just as much fun doing it with my kids. The Apple Suncatcher craft is easy, affordable, and a smart way to reuse broken or dull crayons while refreshing your crayon stash for the season.
What You’ll Need for this Apple Suncatcher Craft:
- Broken or dull crayons (assorted reds, greens, yellows)
- A glass jar or bowl for soaking crayons
- Wax paper
- Scraps of brown and green construction paper for stems and leaves
- An old knife and cutting board for chopping crayons
- Old towels or rags to protect your ironing surface
- An iron and an ironing board
How to Make Apple Suncatchers
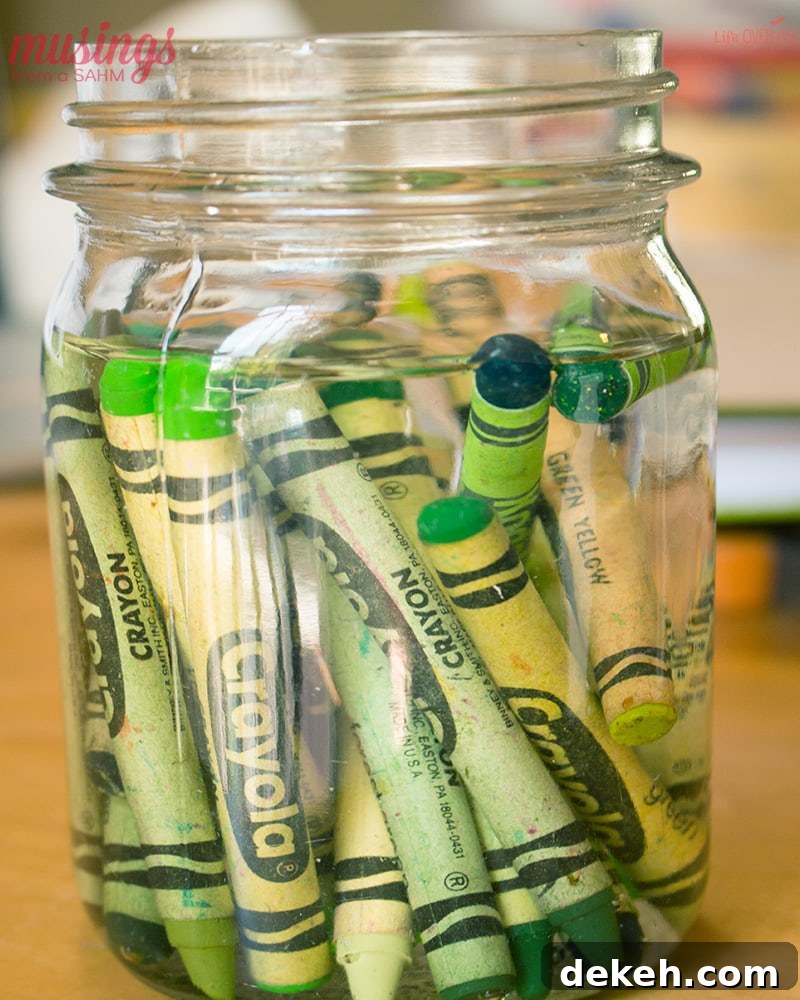
Start by removing the paper wrappers from the crayons. One simple, low-mess method is to place whole crayons in a jar of warm water for about 10 seconds; the paper slips off easily. This is faster and neater than peeling by hand, especially with little helpers.
On a cutting board, use an old knife to chop the crayons into smaller pieces. The pieces do not need to be micro-sized, but smaller chunks melt more evenly and are easier to manage under the iron. Spread the chopped crayon pieces on a sheet of wax paper in loose clusters—if you pile too many pieces together they may spread too far when melted.
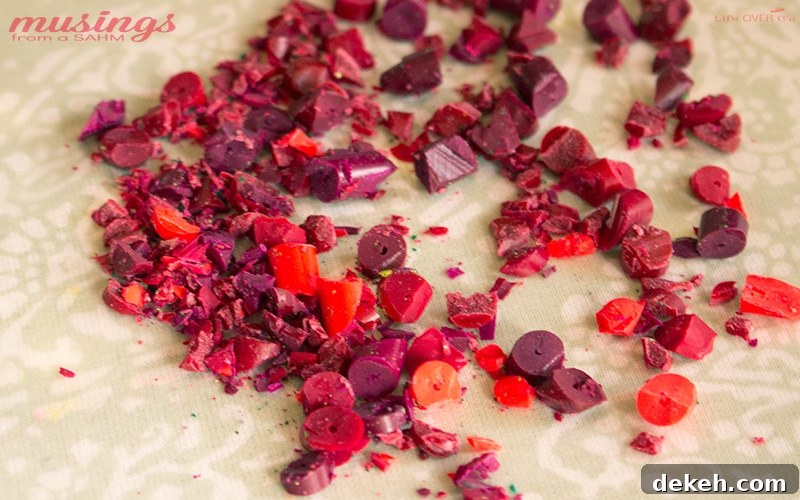
Protect your ironing board surface with one or two kitchen towels. Place a layer of wax paper on top, then arrange the crayon pieces on that sheet. Cover the pieces with a second layer of wax paper and then place another towel over the wax paper to shield the iron and contain any stray wax.
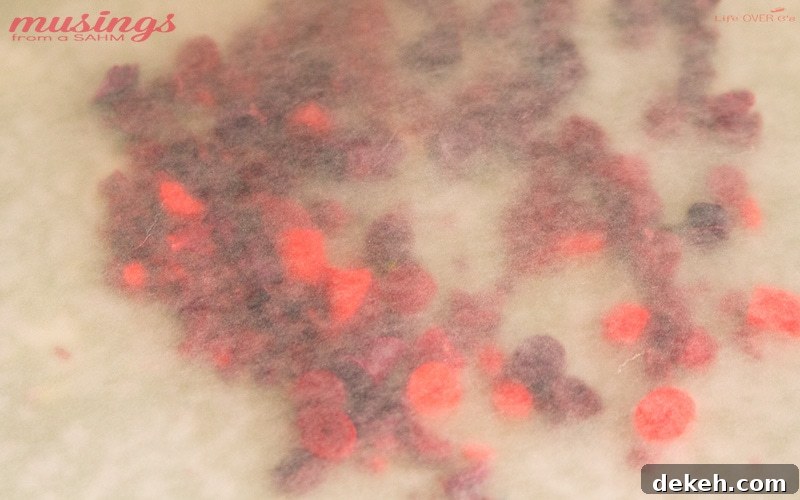
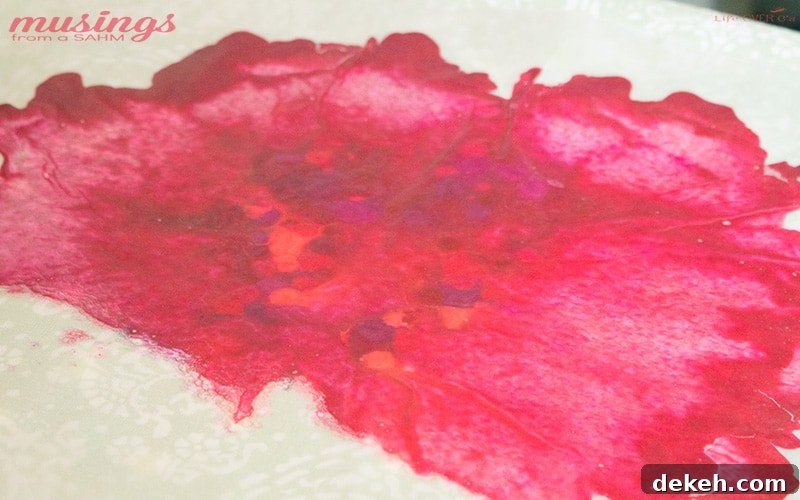
Set the iron to a medium heat and gently press and glide it across the towels and wax paper. Move slowly and evenly; avoid pressing too hard or pushing the melted wax outward. The heat will melt the crayon fragments into a marbled sheet of colored wax. When the wax has fully melted, let it cool slightly before removing the top layers.
Once the melted wax is cool but still pliable, cut the wax paper into apple-shaped outlines. You can draw apple templates on scrap paper first or cut freehand for a rustic look. Keep the wax inside the wax paper while cutting for neater edges. These cut shapes become your suncatchers.
Finish each apple by gluing or taping on a small brown stem and a green leaf from construction paper. For durability, you can place a second layer of wax paper behind the apple before attaching the stem, or laminate the shapes if you prefer. Let children add their own embellishments or write their names on the suncatchers.
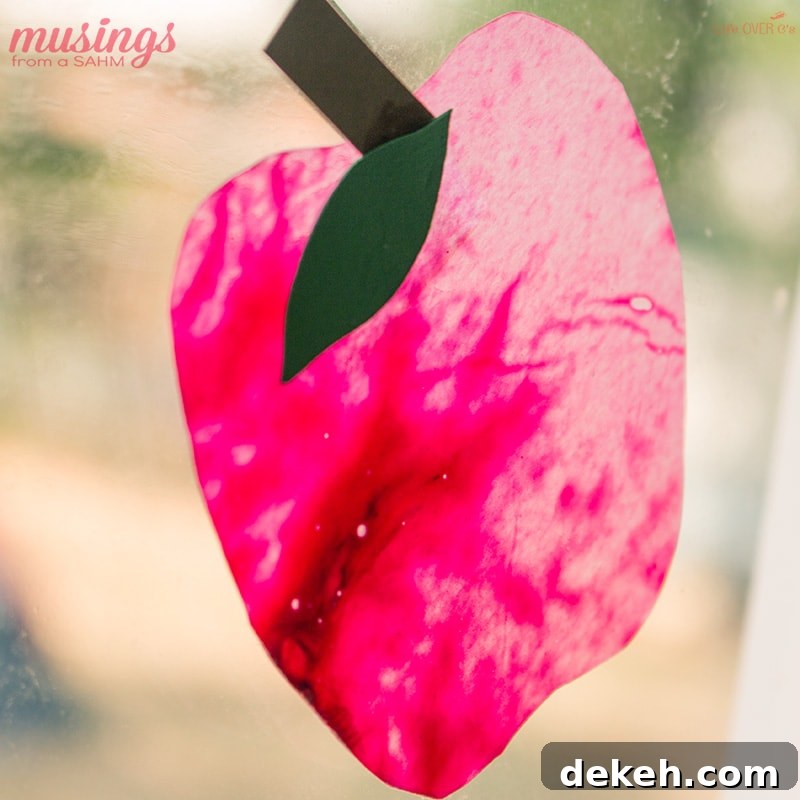
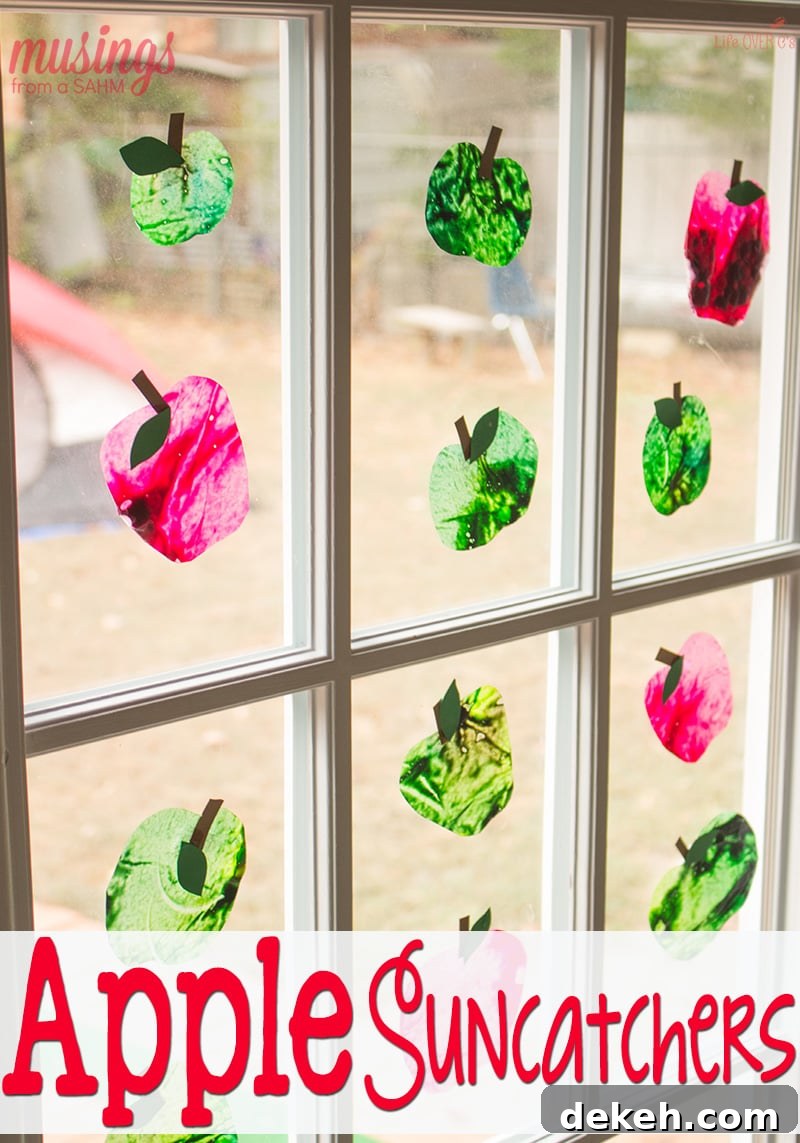
Finally, attach the finished apple suncatchers to a sunny window with tape or a removable adhesive. The light will highlight the marbled colors and translucent textures, turning simple recycled crayons into beautiful seasonal decorations that kids are proud to display.
This project is an easy, eco-friendly fall craft that encourages creativity, fine motor skills, and reuse. What’s your favorite classic fall craft to make with children? Share ideas and variations to inspire other parents and caregivers.